The Project Template feature in Orangescrum Cloud allows you to create new projects quickly using predefined frameworks.
Instead of building each project from scratch, simply choose a template that matches your workflow — such as Scrum, Kanban, Bug Tracking, or Content Management.
Each template comes with built-in structures like task types, statuses, workflows, and permissions — helping your team get started faster and stay consistent across projects.
Example: A marketing team can start with the “Content Management” template to plan campaigns, while a software development team can use “Scrum” for sprint-based planning.
Why Use Project Templates
- Save setup time — start projects instantly with pre-defined structures.
- Maintain consistency — ensure all projects follow your standard workflows.
- Built-in best practices — each template includes optimized settings for different project types.
- Customizable — edit or extend any template to match your organization’s needs.
Accessing Project Templates
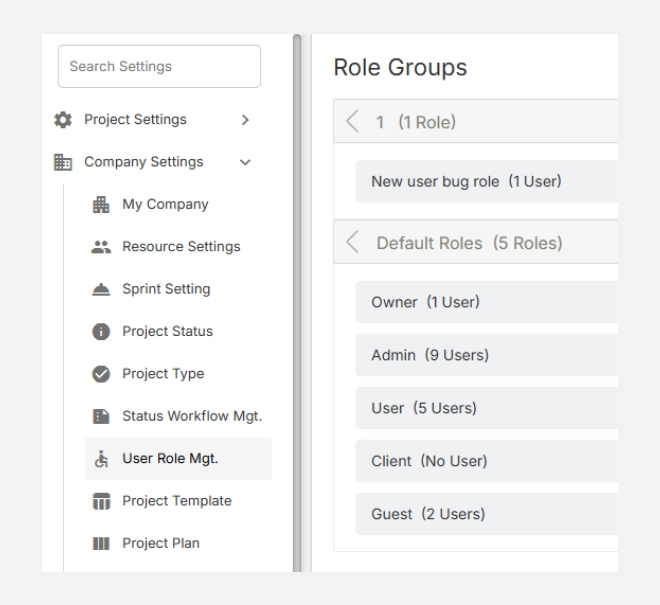
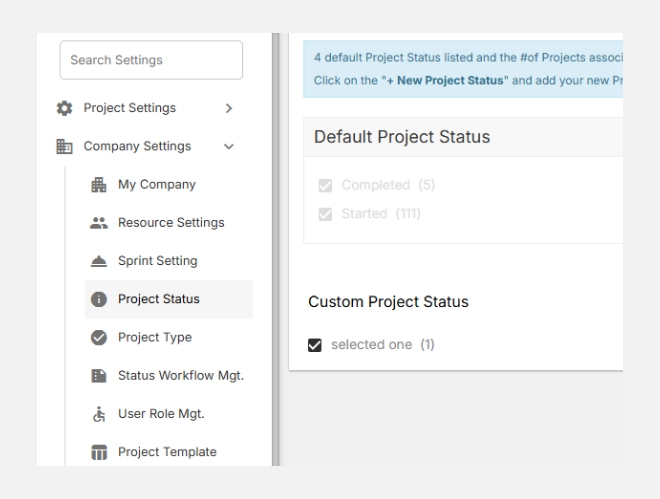
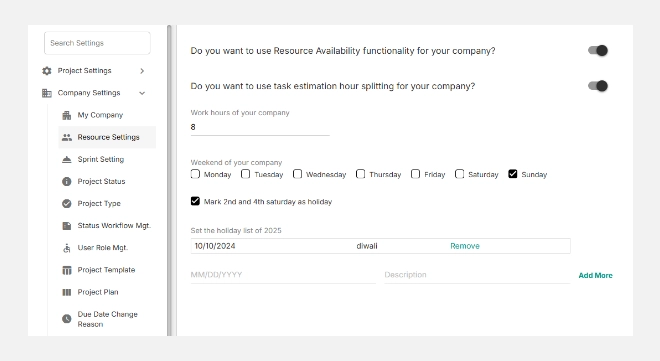
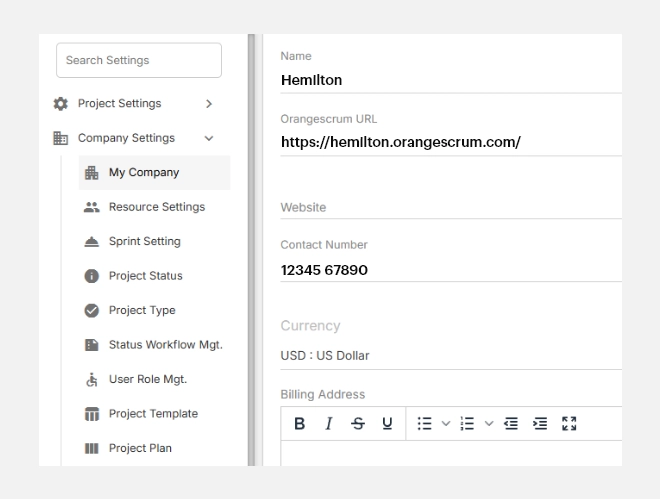
- Navigate to Settings → Company Settings → Project Template.
- You’ll see a library of available templates categorized by workflow type.
- Each template card displays a title, description, and a “Create Project” button.
Available Templates
| Template Name | Description | Ideal For |
| Simple | Do more than just “manage” — organize, assign, and track tasks easily. | General project management |
| Scrum | Create backlog items, manage sprints, and track progress visually. | Agile software teams |
| Kanban | Visualize work progress on boards with customizable statuses. | Continuous delivery teams |
| Bug Tracking | Capture, prioritize, and resolve issues using a structured workflow. | QA and testing teams |
| Content Management | Plan and release content with review and approval steps. | Marketing, editorial teams |
| Task Tracking | A minimal To-Do–based project structure for small teams. | Personal or lightweight team projects |
| Recruitment | Manage hiring stages from job posting to onboarding. | HR and recruitment teams |
| Procurement | Track procurement from RFP to order completion. | Operations and purchase departments |
Each template is designed to fit specific business use cases while remaining flexible enough to customize.
Creating a New Project from a Template
- Choose a template that suits your workflow.
- Click “Create Project.”
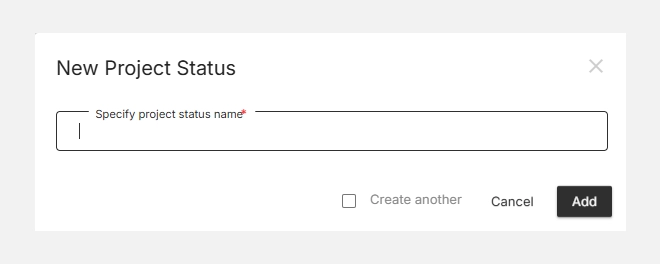
- Enter your project details (name, start/end date, members, etc.).
- Review the predefined setup — including workflow, task types, and permissions.
- Click Save to launch your project instantly.
Your new project will now include all the template’s preloaded configurations — ready to go from day one

Customizing Project Templates
You can tailor existing templates or create new ones to fit your company’s unique processes.
Common customizations include:
- Adding new task types or labels
- Adjusting workflow statuses
- Editing automation rules
- Assigning role-based permissions
Tip: Use custom templates for repeating project types like client onboarding, product releases, or marketing campaigns.