The Slack Connect Integration in Orangescrum Cloud bridges your workspace with your Slack channels.
Once connected, it automatically sends real-time project, task, and comment updates from Orangescrum to your preferred Slack channel — keeping your team informed without switching tools.
This integration helps you manage projects faster by turning Slack into your instant project notification center.
Key Benefits
✅ Instant Notifications: Receive real-time alerts for new tasks, comments, and status changes.
✅ Better Collaboration: Keep your team informed without logging into Orangescrum every time.
✅ Increased Productivity: Reduce missed updates and ensure faster decision-making.
✅ Seamless Communication: Align remote and distributed teams with one synchronized flow of information.
How to Set Up Slack Integration
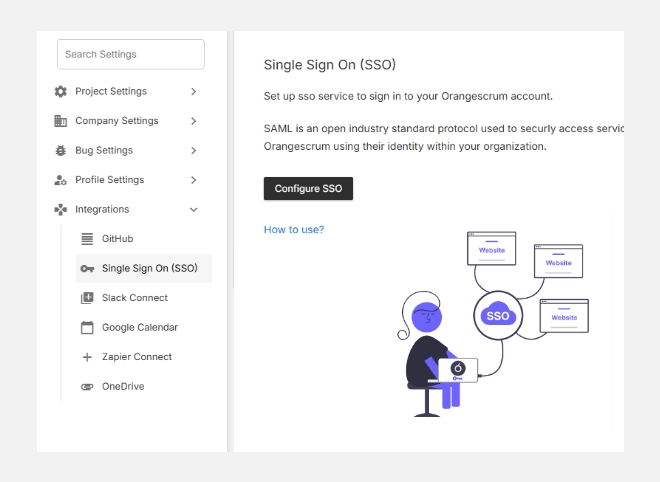
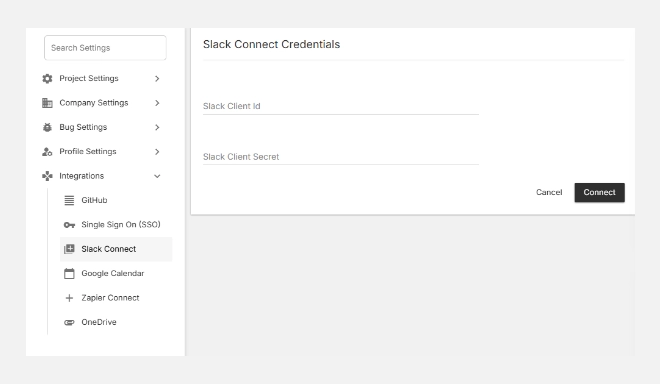
- Go to Settings → Integrations → Slack Connect.
- Enter your Slack Client ID and Slack Client Secret (as shown on your Slack app credentials page).
- Click Connect to authorize Orangescrum to post updates to your Slack workspace.
- Once connected, you’ll see the status (Connected) along with your Slack credentials.
- Click Update anytime to modify the connection or change the Slack workspace.
The integration will remain active until manually disconnected or revoked from your Slack account settings.
What You Can Do After Connecting
Once Slack is connected, you can:
- Get task creation and assignment notifications directly in your chosen Slack channel.
- Receive comment mentions, status changes, and due date reminders automatically.
- Share project progress and milestones with your team in real-time.
- Reply to team discussions instantly without leaving Slack.
Example Use Case
When a task is created in Orangescrum, a message like this appears in Slack:
New Task Added: “Update Construction Plan v2” by John Doe — Due: Friday.
This keeps your entire team aligned, especially in fast-paced project environments.
Managing Your Slack Connection
| Action | Description |
| Update | Modify or refresh your Slack credentials. |
| Disconnect | Remove Slack integration and stop all notifications. |
| Reconnect | Reauthorize Slack if your session expires or credentials change. |
To keep the connection active, ensure your Slack app authorization remains valid.
Best Practices
- Use dedicated channels (e.g., #project-updates or #bug-tracking) for structured communication.
- Combine Slack alerts with email notifications for complete visibility.
- Assign a project owner to manage notification preferences.
Summary
| Feature | Description |
| Slack Alerts | Get instant task and project notifications in Slack. |
| Channel Customization | Choose where notifications appear. |
| Real-Time Updates | Stay informed without opening Orangescrum. |
| Easy Management | Edit or remove integration anytime. |
With Slack Connect, Orangescrum brings real-time collaboration directly to your team’s daily communication hub — ensuring everyone stays aligned, informed, and productive.