Plan sprints. Deliver iteratively. Empower your teams to move faster.
Agile Project Management in Orangescrum Cloud helps teams deliver value faster, adapt to change, and maintain transparency throughout the project lifecycle.
Whether you follow Scrum, Kanban, or a hybrid model, Orangescrum provides the flexibility to manage sprints, tasks, backlogs, and reports — all from one unified workspace.
Agile in Orangescrum turns chaos into clarity — empowering your team to collaborate, iterate, and improve continuously.
Why Use Agile Project Management
- Sprint Planning Made Easy: Break down large goals into achievable iterations.
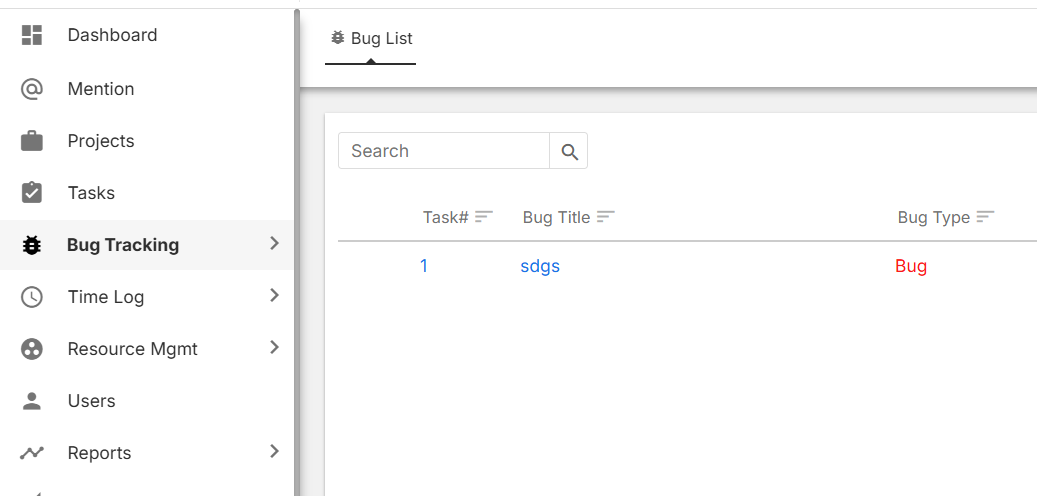
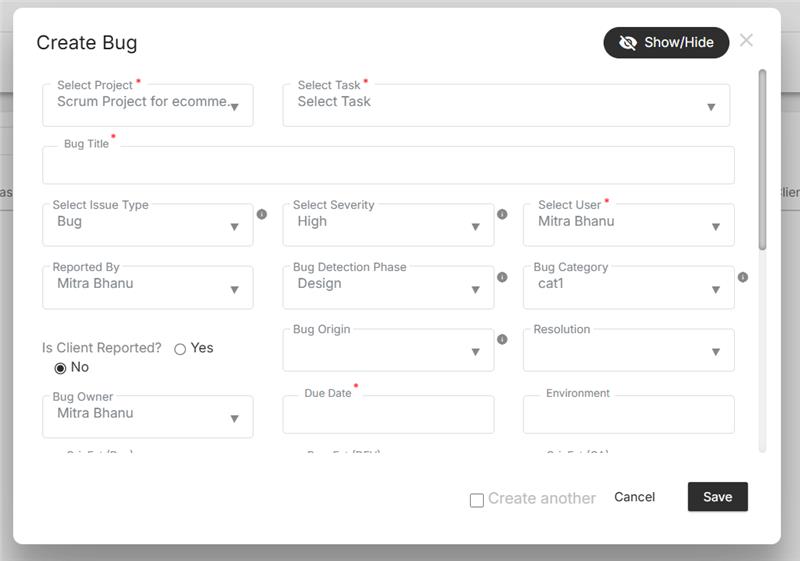
- Visibility Across Teams: Track every task, story, and bug in real time.
- Adaptive Scheduling: Shift priorities and reassign work instantly as plans evolve.
- Measurable Progress: Use velocity and burndown charts to track outcomes objectively.
- Continuous Improvement: Learn from sprint retrospectives and improve each cycle.
Agile Framework in Orangescrum
Orangescrum supports all major Agile workflows:
| Framework | Description |
| Scrum | Sprint-based execution with defined roles (Product Owner, Scrum Master, Team). |
| Kanban | Continuous workflow using visual task boards for real-time updates. |
| Hybrid | Mix Scrum’s sprint structure with Kanban’s flexibility for dynamic teams. |
Choose what fits your team best — Orangescrum adapts to your process, not the other way around.
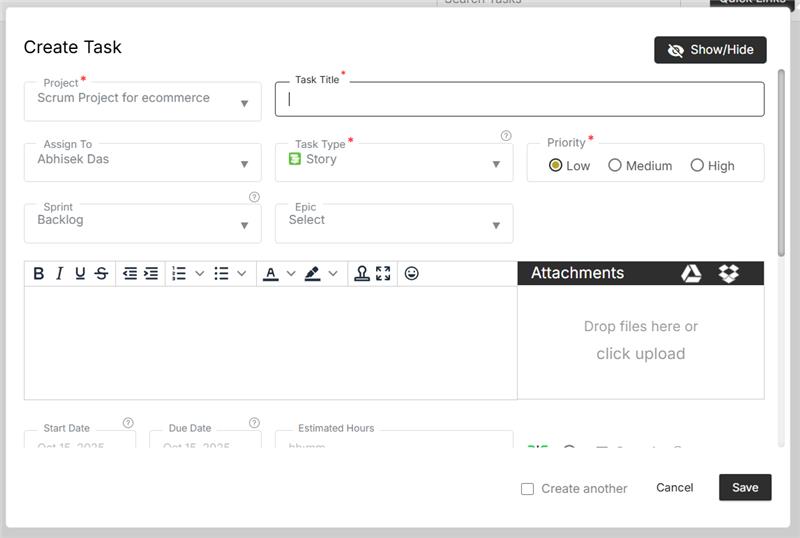
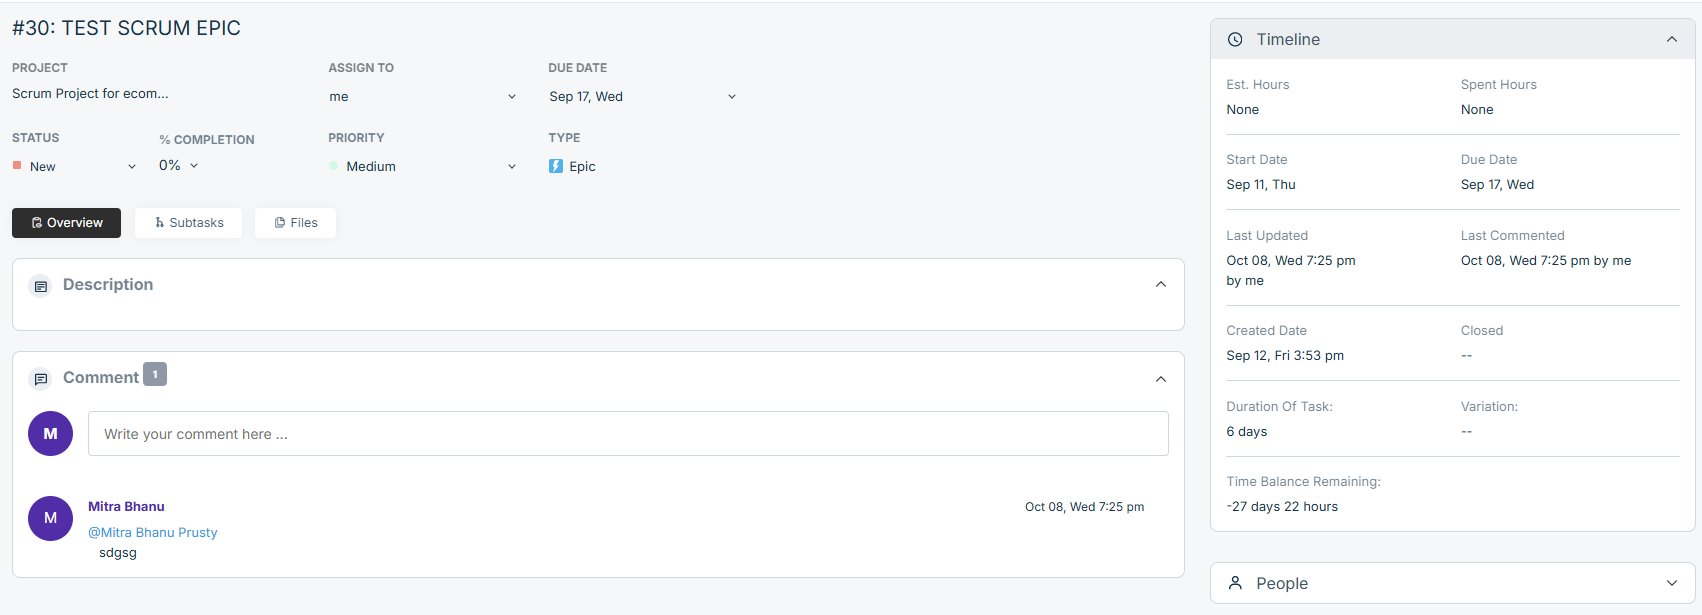
Core Components of Agile in Orangescrum
| Component | Purpose |
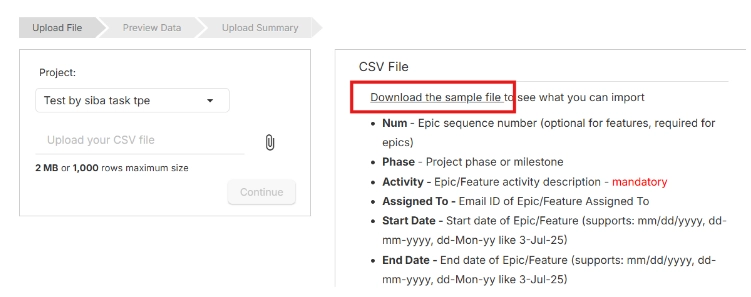
| Epics | High-level goals or major features broken down into user stories. |
| User Stories | Describe what the user wants to achieve (“As a user, I want…”). |
| Tasks & Subtasks | Actionable steps to complete stories and deliver functionality. |
| Sprints | Time-boxed work cycles for delivering incremental value. |
| Backlog | Central repository of all upcoming user stories, tasks, and ideas. |
| Agile Board (Kanban) | Visual view to move tasks across stages: To Do → In Progress → Done. |
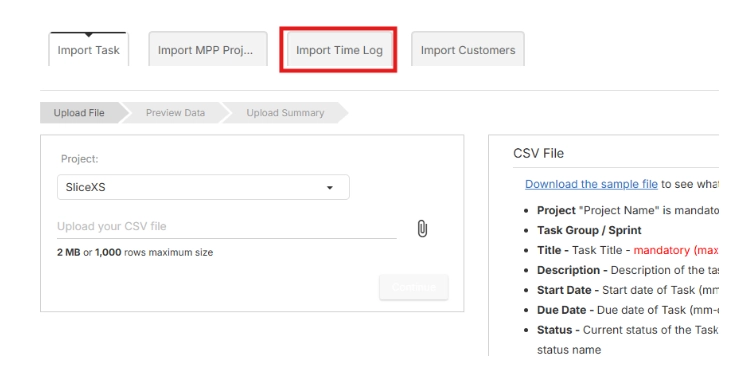
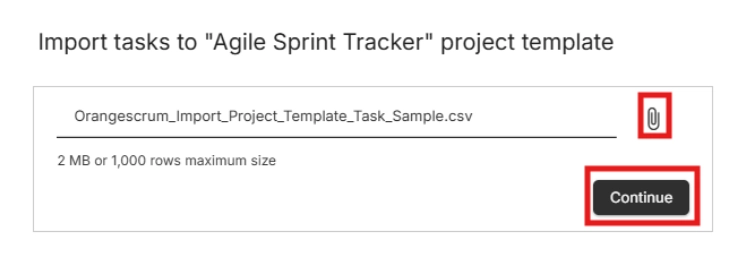
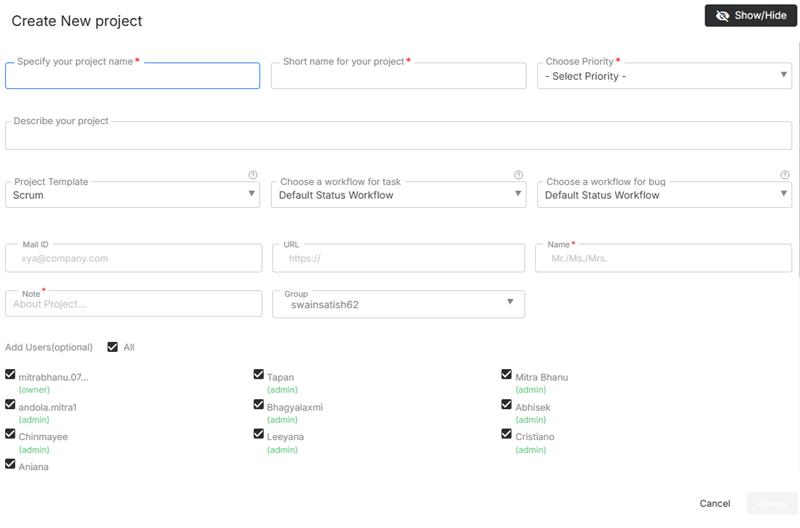
Getting Started with Agile in Orangescrum
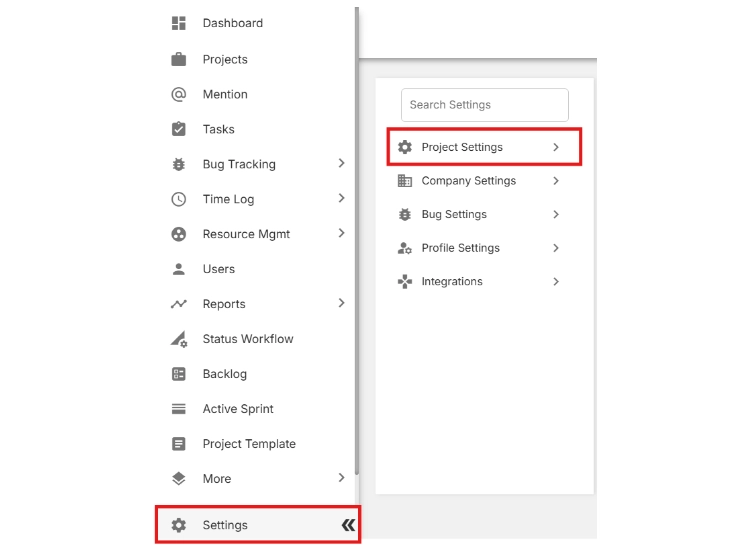
Step 1: Enable Agile View
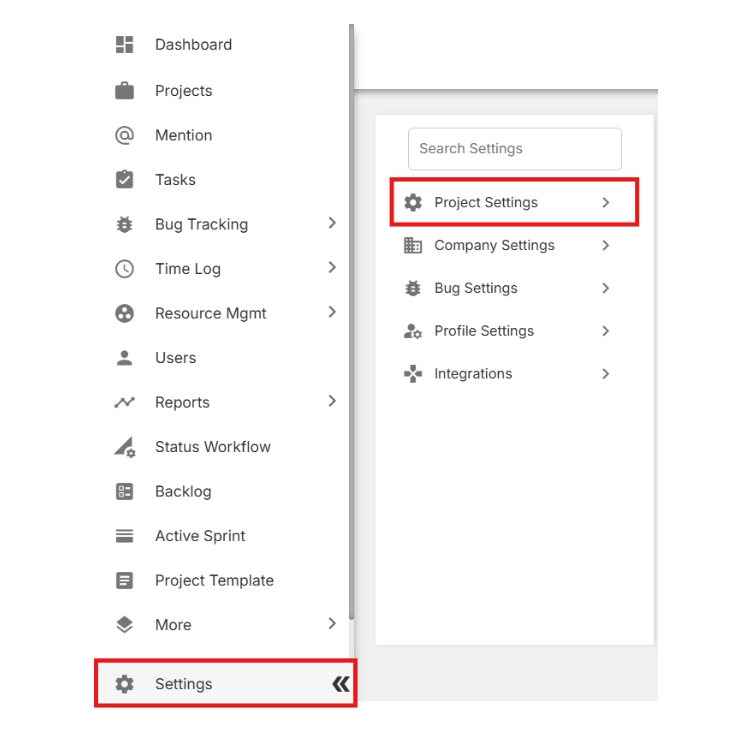
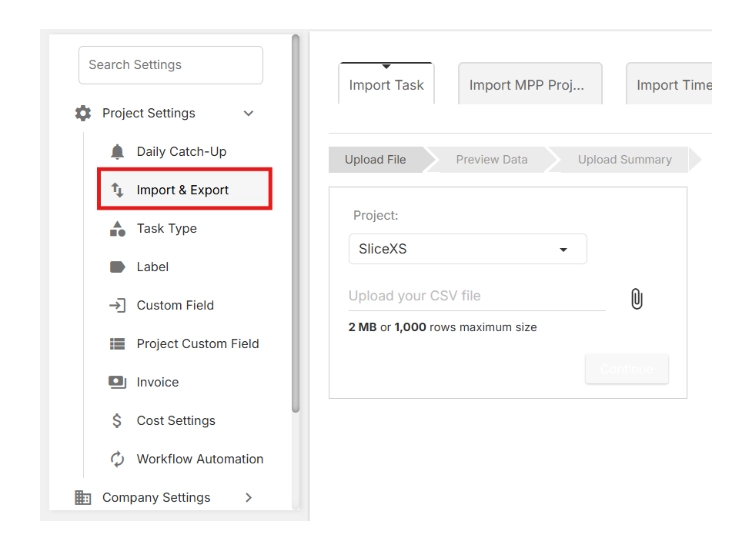
- Navigate to Settings → Project Settings → Agile / Scrum.
- Enable Agile Project View for your workspace or specific project.
Pro Tip: Keep sprints short (1–2 weeks) for faster feedback and flexibility.
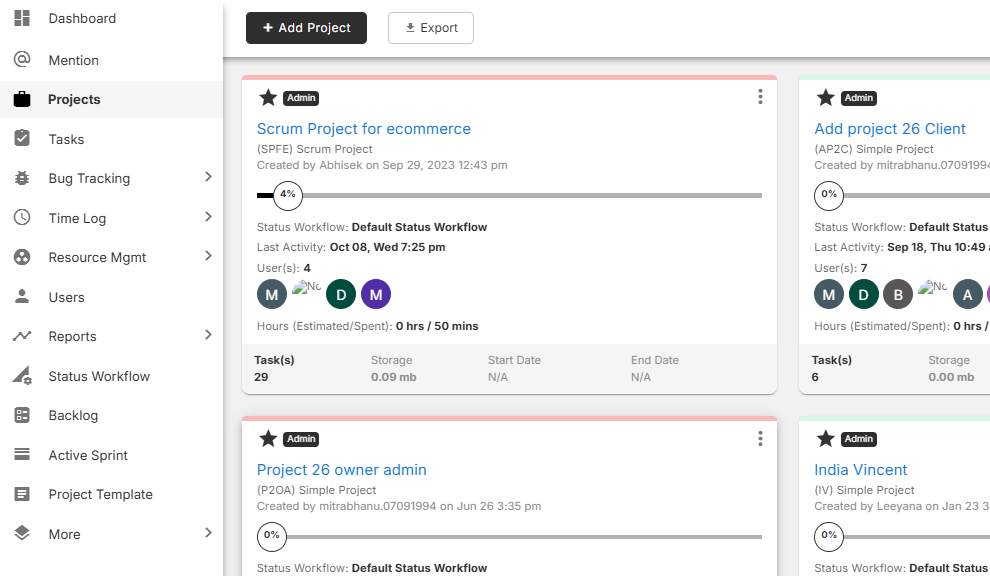
Managing the Backlog
The Backlog acts as your idea vault — capturing everything that hasn’t been assigned to a sprint yet.
- Add Epics, Stories, and Tasks directly to your backlog.
- Prioritize work by dragging items to the top.
- Move items into active sprints when ready for execution.
- Tag backlog items with labels or priority levels for clarity.
A well-groomed backlog keeps your sprints smooth and predictable.
Working with the Agile Board
The Agile (Kanban) Board gives you a visual way to track sprint progress.
| Column | Meaning |
| To Do | Planned work that hasn’t started. |
| In Progress | Tasks currently being worked on. |
| In Review | Work completed and awaiting QA or approval. |
| Done | Finished tasks ready for release or closure. |
You can:
- Drag and drop tasks between columns.
- Assign or reassign members instantly.
- Apply filters (by assignee, priority, or label).
- View task cards with quick details (title, due date, status).
Visual boards increase transparency and reduce status meetings.
Tracking Sprint Progress
Orangescrum provides built-in metrics and dashboards to track sprint health:
| Report | Description |
| Burndown Chart | Shows remaining work vs. time — helps forecast completion. |
| Velocity Chart | Tracks the average work completed per sprint to measure consistency. |
| Sprint Summary Report | Displays completed, in-progress, and pending tasks. |
| Team Performance Report | Evaluates contributions across members. |
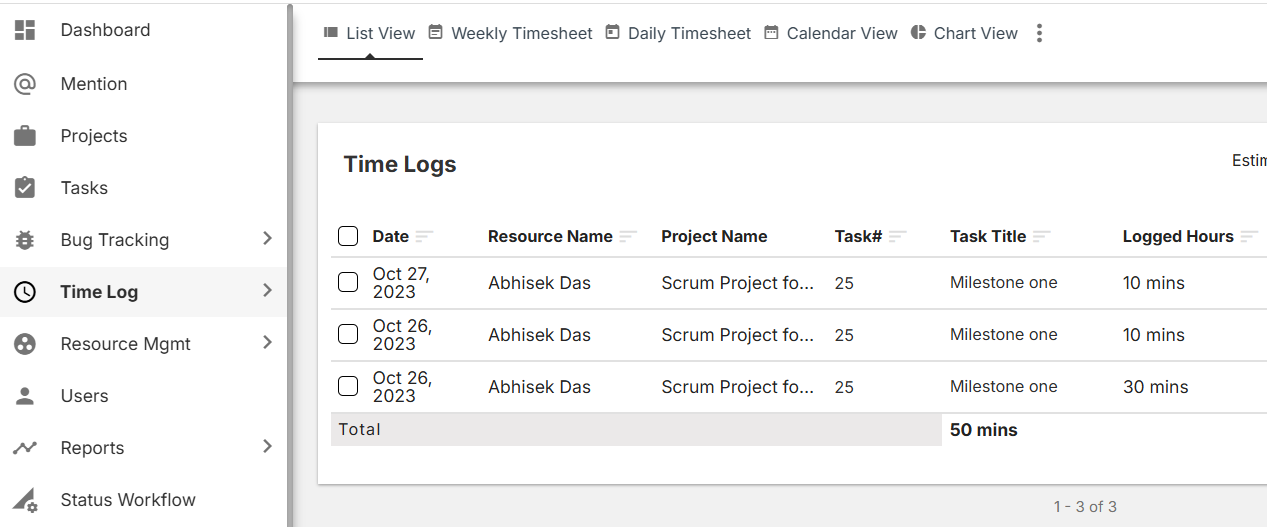
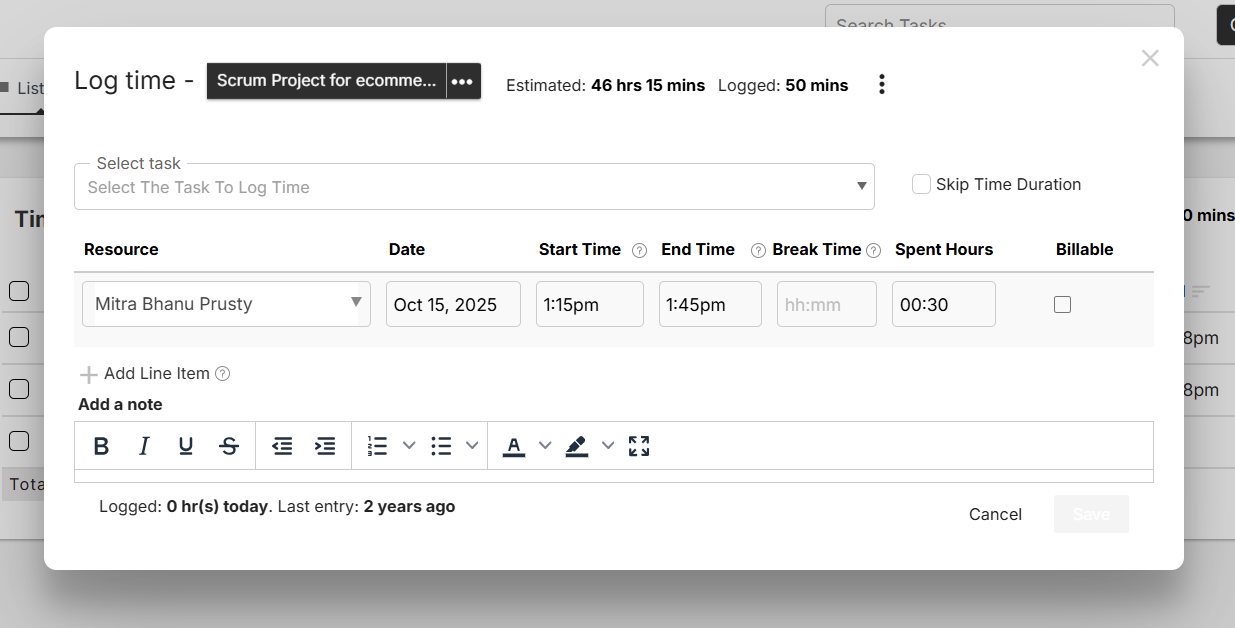
These insights help Scrum Masters and managers adjust workloads or improve planning accuracy.
Agile Roles in Orangescrum
| Role | Responsibility |
| Product Owner | Defines priorities and maintains backlog clarity. |
| Scrum Master | Facilitates sprint planning, stand-ups, and removes blockers. |
| Team Members | Execute assigned work and update task statuses. |
| Stakeholders / Clients | View sprint progress and delivery outcomes. |
Use Roles & Permissions in Settings to control access across Agile teams.
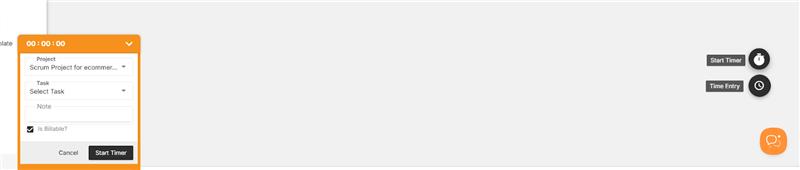
Collaborating During Sprints
Collaboration in Agile is key to success.
In Orangescrum, teams can:
- Use Comments to discuss issues within tasks or stories.
- Mention teammates using @username to trigger notifications.
- Attach screenshots, design files, or documents from OneDrive / Google Drive.
- Record daily stand-up updates via Daily Catch-Up emails or activity logs.
Real-time communication helps teams adapt quickly to sprint challenges.
Completing and Closing Sprints
At the end of each sprint:
- Review completed and pending items.
- Move unfinished tasks back to the backlog or next sprint.
- Update sprint status to Completed.
- Generate Sprint Summary Reports for stakeholders.
- Conduct a Retrospective to note what worked and what didn’t.
Continuous improvement ensures every sprint is better than the last.
Integrations that Enhance Agile Workflows
- Slack Integration: Get instant sprint updates in team channels.
- GitHub Integration: Sync commits and pulls requests directly with user stories or bugs.
- Zapier Integration: Automate sprint creation, task tracking, and notifications.
- OneDrive / Google Drive: Attach supporting files for user stories or documentation.
Integrations connect your Agile ecosystem — from code to communication.
Best Practices for Agile in Orangescrum
- Keep sprints short (1–2 weeks) and focused.
- Conduct regular backlog grooming sessions.
- Use burndown charts to monitor daily progress.
- Hold daily stand-ups to discuss blockers.
- Review retrospectives and adjust processes continuously.
- Encourage transparency and ownership among team members.
Agility is a mindset — not just a process.
With Agile Project Management in Orangescrum Cloud, your team can plan smarter, execute faster, and deliver better — one sprint at a time.