Bug Root Cause

Bug Root Cause in Orangescrum Cloud helps teams record and analyze the fundamental reason behind a bug’s occurrence — not just its symptoms.

By identifying why a defect was introduced (e.g., missing validation, unclear requirements, or configuration errors), teams can implement corrective actions to prevent similar issues in future releases.

Example: If a bug’s root cause is “Requirement Misinterpretation,” the corrective action could be improving requirement review and clarification meetings before development begins.

Why Use Root Cause Analysis

  • Discover patterns: Identify recurring causes of defects across modules or teams.
  • Improve processes: Strengthen QA, design, and development practices based on insights.
  • Enhance reporting: Classify bugs by cause to track and reduce defect leakage.
  • Prevent recurrence: Turn reactive debugging into proactive quality improvement.

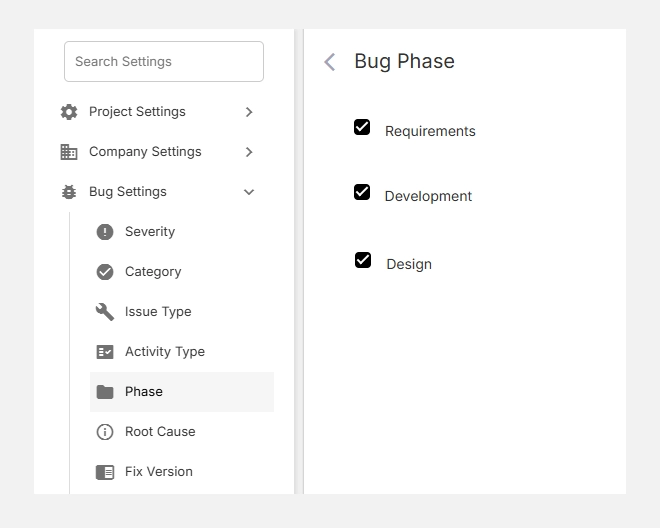
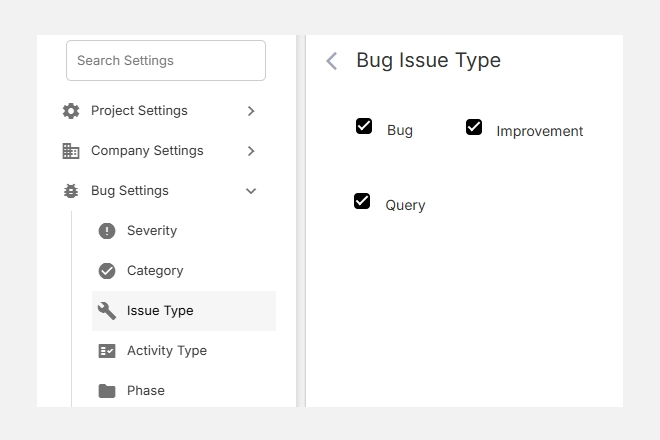
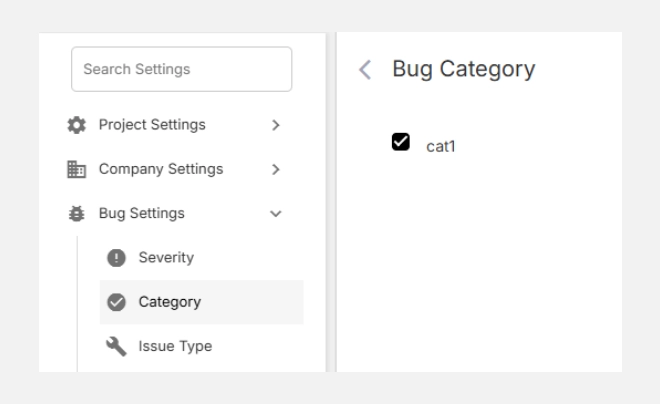
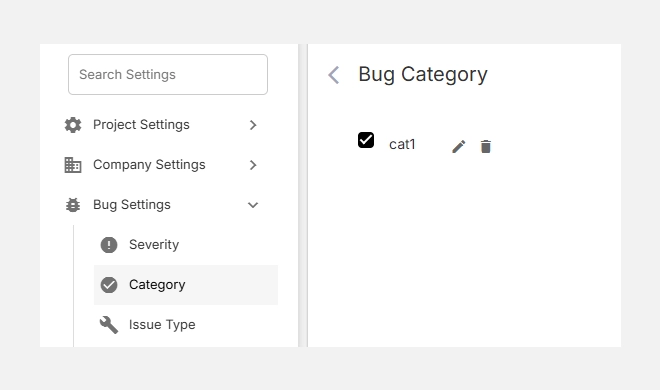
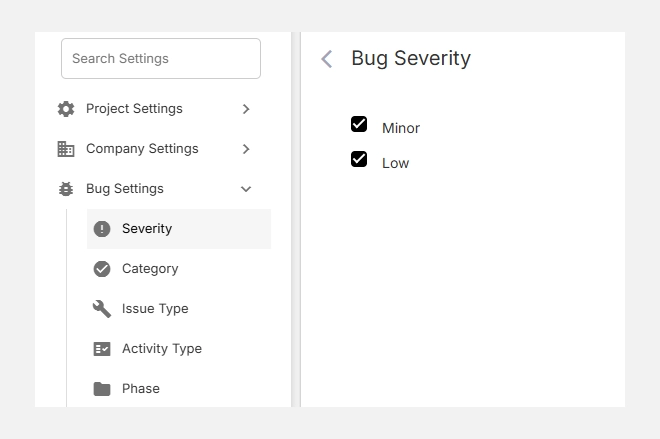
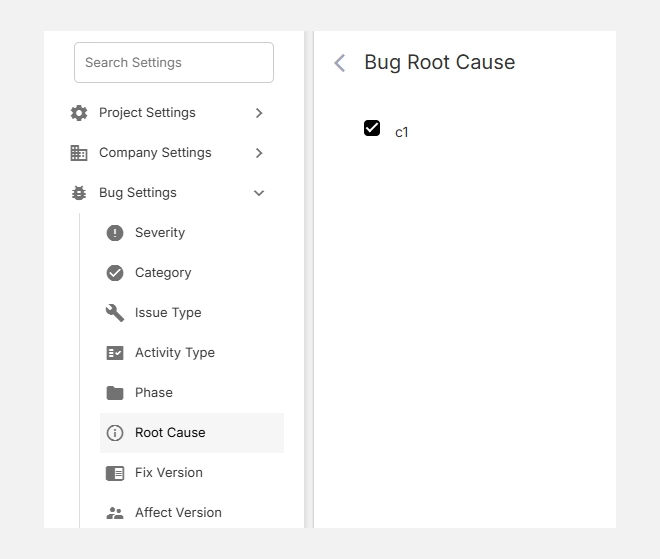
Accessing Bug Root Cause Settings

  1. Go to Settings → Bug Settings → Root Cause.
  2. The list shows all existing root causes configured in your workspace.
  3. You can add new ones or edit/remove existing items at any time.

Accessing bug root cause settings

Common Examples of Root Causes

Root Cause Description Example
Requirement Gap Missing or misunderstood requirements. Feature logic unclear in PRD.
Design Flaw Poor architecture or design approach. Missing error handling flow.
Coding Error Incorrect logic or syntax. Null pointer exception in Java.
Integration Issue Misaligned APIs or incompatible modules. Data mismatch between modules.
Testing Coverage Gap Missed edge cases or incomplete testing. Feature passed unit tests but failed in regression.
Configuration Error Incorrect environment or deployment setup. Wrong API keys in staging environment.

Tip: You can customize root cause categories based on your industry or workflow — for instance, add Data Error, Third-Party Dependency, or Human Error as needed.

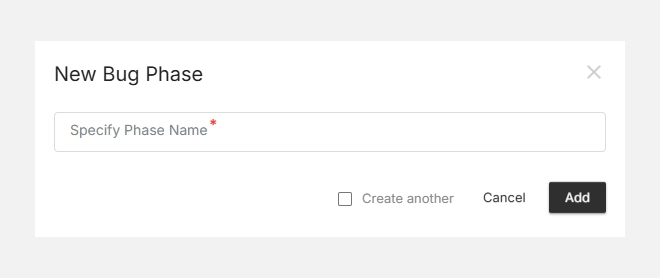
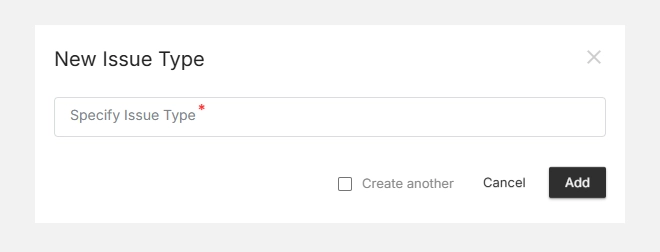
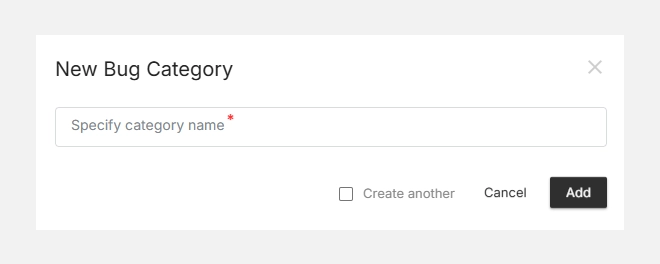
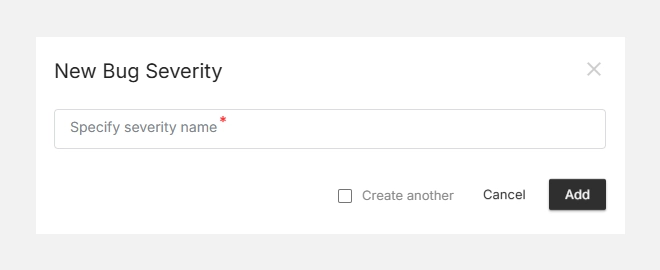
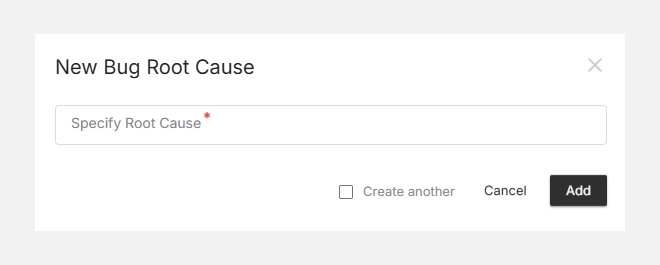
Adding a New Root Cause

  1. Click + New Root Cause (top-right corner).
  2. Enter a descriptive Root Cause Name (e.g., Requirement Gap, Configuration Error).
  3. Click Add to save it.
  4. The new cause will appear in your list and can be selected during bug reporting or analysis.

Adding a new root cause

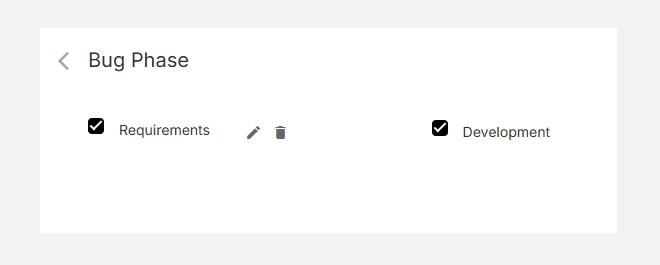
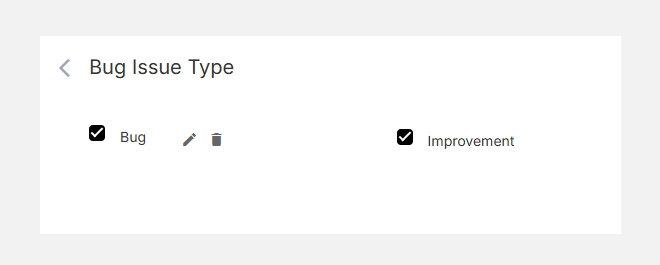
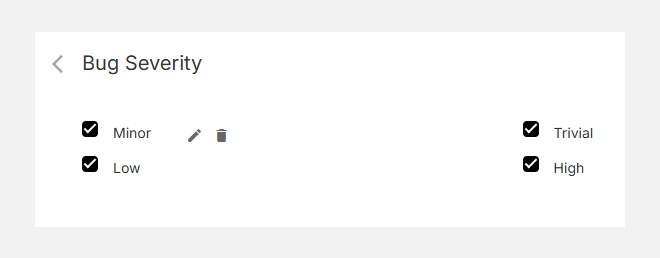
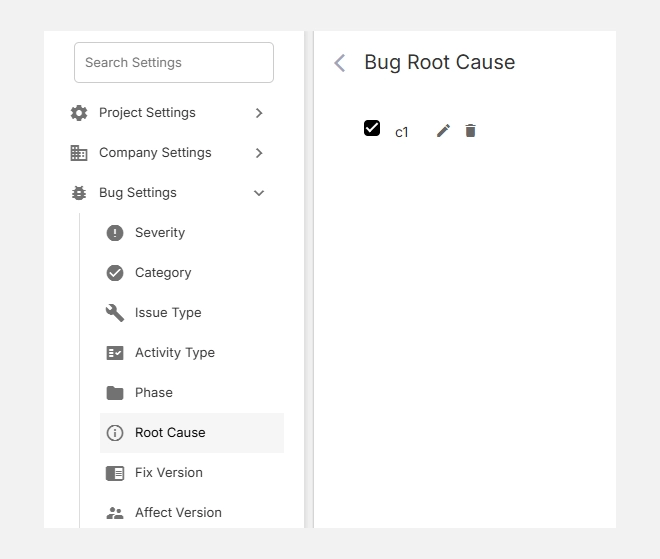
Editing or Deleting a Root Cause

  • To Edit, click the icon beside an existing cause.
  • To Delete, click the icon if the cause is no longer relevant.
  • Deletion will unassign the cause from existing issues but keep the records intact.

Editing or deleting a root cause

Bug Root Cause in Orangescrum Cloud transforms your defect tracking into a learning process — helping your teams identify, analyze, and eliminate the real reasons behind recurring issues.

Bug Phase

Bug Phase in Orangescrum Cloud allows you to define at which stage of the project a defect was identified — such as during Requirements Gathering, Design, Development, Testing, or Deployment.

This helps project managers and QA teams analyze the origin of issues, identify process bottlenecks, and improve quality control at every phase of the software development lifecycle (SDLC).

Example: If multiple issues are logged during the “Design” phase, it indicates the need for stronger design review or validation steps.

Why Define Bug Phases

  • Pinpoint issue origins — know exactly when and where bugs are introduced.
  • Improve process control — strengthen quality assurance at weak stages.
  • Generate better analytics — understand trends and prevent future defects.
  • Enhance collaboration — give visibility to both development and QA teams on recurring phase-level issues.

Accessing Bug Phase Settings

  1. Navigate to Settings → Bug Settings → Phase.
  2. You’ll see a list of existing default phases such as Requirements, Design, and Development.
  3. You can add, edit, or remove phases based on your workflow or development process.

Accessing bug phase settings

Default Bug Phases

Phase Description Example
Requirements Bugs introduced due to unclear or incomplete requirements. Missing acceptance criteria, ambiguous scope.
Design Defects identified in UI/UX or architectural design. Incorrect layout, poor navigation flow.
Development Code-related bugs found during implementation or testing. Logic errors, broken API calls, data mismatch.
Testing (custom) Issues detected during QA or user acceptance testing. Validation errors, regression bugs.
Deployment (custom) Problems occurring after release or deployment. Configuration errors, environment issues.

Note: You can customize these phases to match your specific SDLC or Agile workflow.

Adding a New Bug Phase

  1. Click + New Bug Phase (top-right corner).
  2. Enter a clear and descriptive Phase Name (e.g., Testing, UAT, Production).
  3. Click Add to save it.
  4. The new phase will appear in your list and be available during bug reporting.

Adding a new bug phase

Editing or Deleting Phases

  • To Edit, click the icon beside a phase name and update the text.
  • To Delete, click the icon to remove unused phases.
  • Deleting a phase will unassign it from existing issues, but will not delete the issues themselves.

Editing or deleting phases

Tip: Always align your Bug Phases with your project’s actual delivery workflow — for example, Agile sprints or Waterfall milestones.

Bug Issue Type

Bug Issue Type in Orangescrum Cloud helps teams differentiate between various kinds of reported items — such as bugs, improvements, feature requests, or general queries.

By defining specific issue types, you can manage work more efficiently, prioritize development, and generate accurate reports for QA and product analysis.

Example: When a user reports an “API timeout,” you can log it as a Bug, while a suggestion to “Add export to PDF” can be logged as an Improvement.

Why Use Issue Types

  • Organize issues logically — separate bugs, tasks, enhancements, and queries.
  • Improve reporting — generate more accurate defect and improvement metrics.
  • Simplify tracking — quickly filter and assign items based on type.
  • Align teams — ensure QA, dev, and product teams speak the same language.

Accessing Bug Issue Type Settings

  1. Go to Settings → Bug Settings → Issue Type.
  2. You’ll see the existing default issue types such as Bug, Improvement, and Query.
  3. You can activate, deactivate, or add new custom issue types anytime.

Accessign bug issue type settings

Default Issue Types

Issue Type Description Example
Bug A defect or error that breaks functionality or causes unexpected results. Broken link, calculation error, crash on save.
Improvement A request to enhance existing functionality. Optimize dashboard speed, update email template.
Query A question or clarification request that does not indicate a product fault. “How does this filter work?”

You can also create additional issue types such as Feature Request, Enhancement, or Change Request to suit your project workflow.

Adding a New Issue Type

  1. Click + New Issue Type (top-right corner).
  2. Enter a clear Issue Type Name in the field (e.g., Enhancement, Task, Feature Request).
  3. Click Add to save it.
  4. Your new type will now appear in the list and can be selected when logging bugs or issues.

Adding a new issue type

Editing or Deleting an Issue Type

  • To Edit, hover over the issue type name and click the icon.
  • To Delete, click the icon to remove it from your configuration.
  • Deleting an issue type will not erase the associated issues but will unlink the classification.

Editing or deleting issue type

Tip: Keep your issue types minimal (3–6) to avoid confusion and maintain reporting clarity.

Bug Category

Bug Category in Orangescrum Cloud allows you to classify and organize defects based on specific modules, functionalities, or areas of your project.

By grouping bugs under meaningful categories—such as UI/UX, Database, Integration, or API Errors—you can streamline triage, assign the right team members, and analyze recurring issues more effectively.

Example: You can create separate categories like “Login Module,” “Payment Gateway,” or “Dashboard Reports” to quickly locate and manage defects in those sections.

Why Use Bug Categories

  • Improve visibility: Quickly identify which area of the project the issue belongs to.
  • Streamline assignment: Assign issues to the right functional or technical owner.
  • Enhance reporting: Track recurring problems within a specific feature or module.
  • Speed up resolution: Reduce back-and-forth communication by clearly defining ownership.

Accessing Bug Category Settings

  1. Navigate to Settings → Bug Settings → Category.
  2. You’ll see an empty list if no categories exist.
  3. From here, you can add new categories or manage existing ones.

Accessing bug category settings

Creating a New Bug Category

To create a category:

  1. Click + New Bug Category (top right corner).
  2. Enter a Category Name in the pop-up window.
    • Example: UI Design, Database Query, API Failure.
  3. (Optional) Check Create another if you want to add multiple categories continuously.
  4. Click Add to save your new category.

Creating a new bug category

Your new bug category will now appear in the list and will be available for selection when logging new issues or editing existing ones.

Editing or Deleting a Category

  • To Edit, hover over the category and click the icon to rename it.
  • To Delete, click the icon to remove categories no longer in use.
  • Any deleted category will be unlinked from existing bugs, but the bug records themselves will remain intact.

Editing or deleting a category

Tip: Keep your category names short and descriptive so team members can quickly identify where an issue belongs.

Bug Severity

Bug Severity in Orangescrum Cloud helps you classify how critical or impactful a bug is to your system, functionality, or end users.

It indicates the technical seriousness of a defect — whether it blocks key features, causes minor inconvenience, or is simply cosmetic.

By defining bug severities, teams can prioritize fixes effectively, ensure faster turnaround for critical issues, and maintain product quality through consistent classification.

Example: A crash on the login page would be tagged as High Severity, while a typo in a tooltip may be Low Severity.

Why Define Bug Severity

  • Prioritize fixes smartly — focus first on issues that affect business-critical functionality.
  • Standardize QA reporting — ensure all team members use consistent severity levels.
  • Improve visibility — generate better defect analytics and release dashboards.
  • Optimize time management — align developer effort with real system impact.

Accessing Bug Severity

  1. Navigate to Settings → Bug Settings → Severity.
  2. You’ll see a list of existing severity levels such as Trivial, Minor, Medium, High, etc.
  3. You can enable, disable, or add new severity types as needed.

Accessing bug severity

Default Severity Levels

Severity Description Typical Example
Trivial Very minor issue with no functional impact. Spelling error, UI alignment.
Minor Small problem that does not block normal operation. Misaligned label, minor color issue.
Medium Noticeable defect affecting a secondary feature. Sorting issue in a report, minor data mismatch.
High Major issue affecting primary functionality but with a workaround. Broken workflow, incorrect calculations.
Critical (custom) Severe defect that blocks core functionality or causes system failure. Application crash, data corruption.

Note: Severity levels can be customized to match your organization’s QA or release policies.

Adding a New Severity Level

  1. Click + New Bug Severity (top-right corner).
  2. Enter a clear and concise Severity Name (e.g., Critical, Blocker, Cosmetic).
  3. Click Add to save your new severity.
  4. The new level will now appear in your list and be available while reporting bugs.

Adding a new severity level

Editing or Deleting Severities

  • To Edit, hover over a severity and click the edit icon to rename or update it.
  • To Delete, click the trash icon to remove unwanted levels.
  • Changes are applied instantly across all projects using that configuration.

Editing or deleting severities

Note: Removing a severity will unassign it from existing bugs but will not delete those bug records.

Bug Settings

The Bug Settings section in Orangescrum Cloud gives you full control over how issues and bugs are categorized, tracked, and resolved within your projects.

Here, workspace admins can define custom attributes — such as Severity, Category, Issue Type, Root Cause, and Resolution — to standardize bug reporting and ensure consistency across teams.

By tailoring these settings to your workflow, you can streamline your QA process, improve collaboration between testers and developers, and gain better visibility into defect patterns and priorities.

Example: QA teams can classify bugs by severity (Critical, Major, Minor), track affected versions, and record root causes to prevent recurring issues.

Why Use Bug Settings

  • Standardize issue tracking across all projects and teams.
  • Prioritize effectively with clearly defined severity and categories.
  • Enable detailed analysis by linking bugs to causes, versions, and resolutions.
  • Customize your workflow to match your QA, UAT, or production process.
  • Improve reporting accuracy for bug trends, fix rates, and release quality.

Accessing Bug Settings

  1. Go to Settings → Bug Settings.
  2. You’ll find configurable sections such as:
    • Severity – Define the impact level of a bug.
    • Category – Classify bugs based on functionality or module.
    • Issue Type – Specify the type of defect (e.g., Bug, Enhancement, Request).
    • Activity Type – Track related test or development activities.
    • Phase – Identify which stage (UAT, QA, Production) the issue occurred in.
    • Root Cause – Record the underlying cause for process improvement.
    • Fix Version / Affect Version – Link defects to release versions.
    • Origin – Capture where the issue originated.
    • Resolution – Document how the issue was fixed or handled.