Track and manage bug fixes across releases with clarity. The Fix Version feature in Orangescrum Cloud helps teams track which release or version a bug or issue was fixed in.
It ensures product stability and provides a clear historical reference for every issue — making it easier for QA teams, developers, and release managers to validate fixes and plan version rollouts efficiently.
💡 Fix Versions are primarily used in bug tracking and release management workflows.
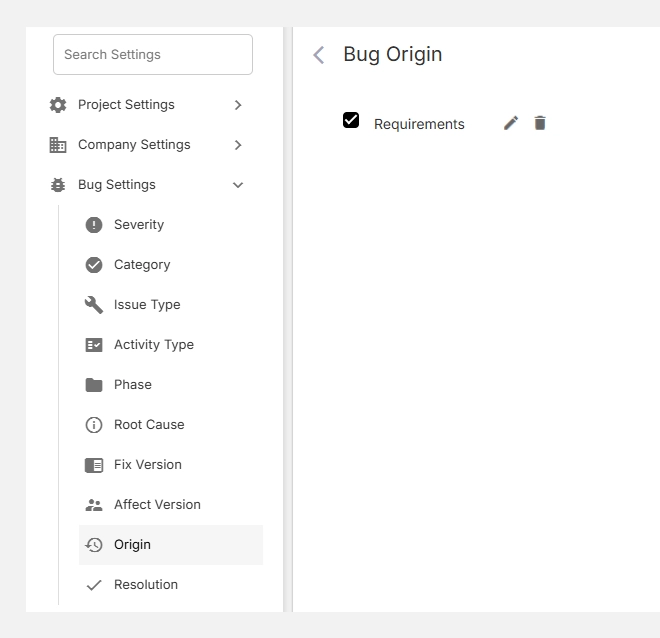
Where to Find Fix Version
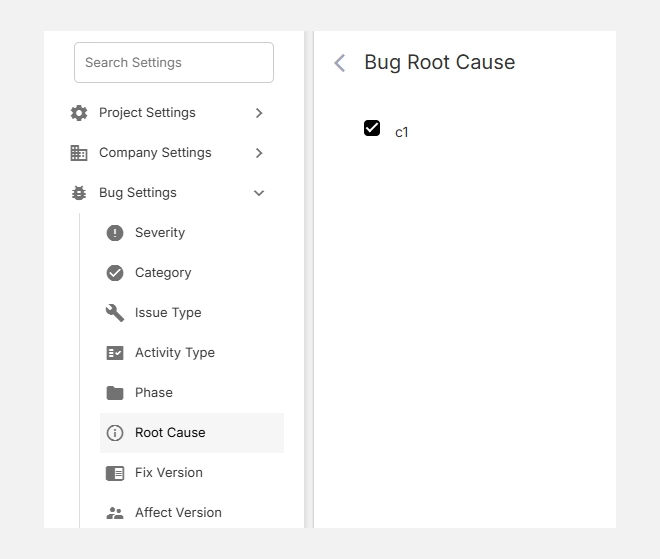
You can find the Fix Version option under:
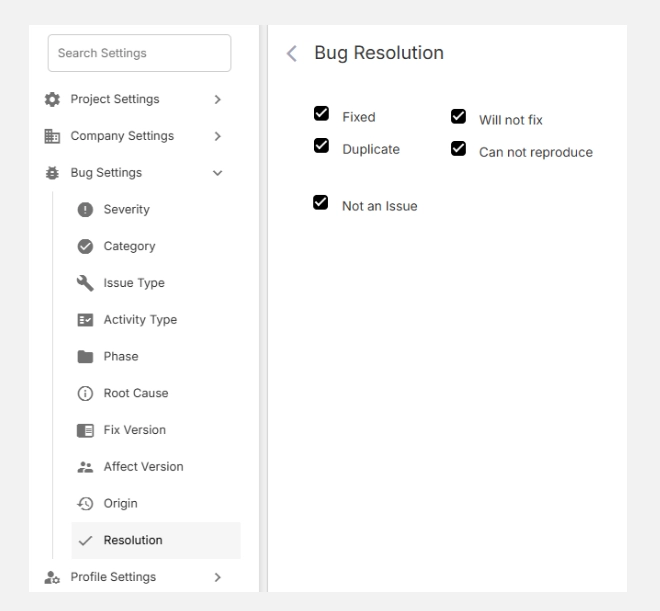
Settings → Bug Settings → Fix Version
Here, Admins and Project Managers can:
- Add new Fix Versions
- Edit existing Fix Versions
- Delete or deactivate unused Fix Versions

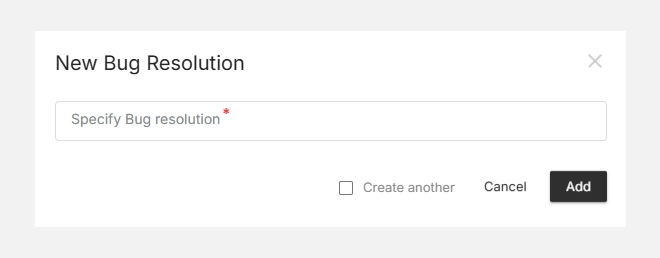
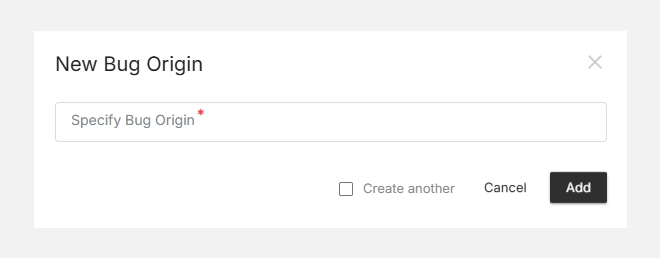
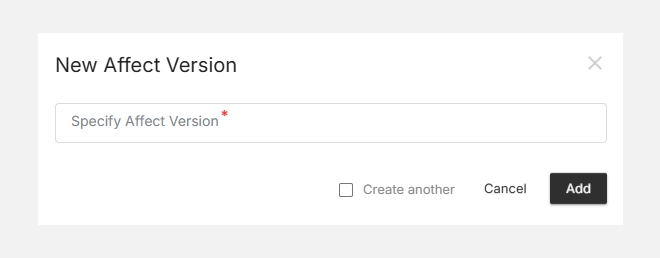
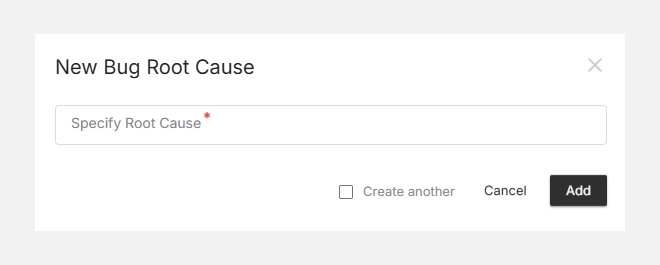
How to Create a New Fix Version
- Go to Settings → Bug Settings → Fix Version
- Click + New Fix Version (top-right corner)
- Enter a version name (e.g., v1.1.0 or Sprint_15_Fix)
- Click Save

Your new Fix Version will appear in the list and can be assigned to any bug or issue during or after resolution.
Use consistent naming (like “v1.0.1”, “Patch_Q4_2024”) to simplify release tracking.
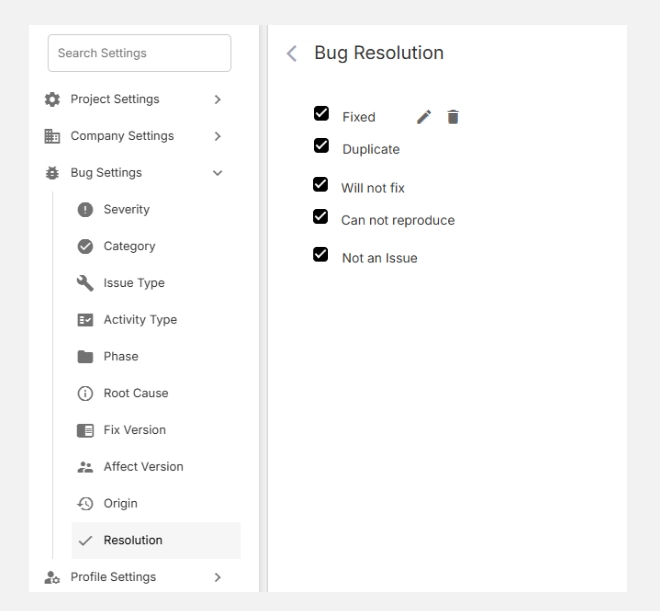
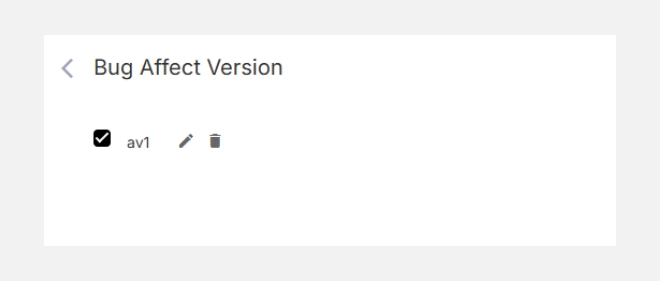
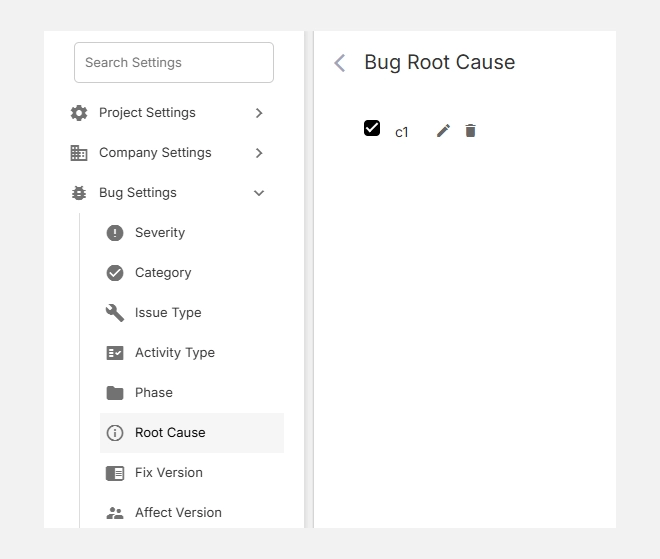
Editing or Deleting a Fix Version
- To edit, click the icon beside the version name.
- To delete, click the trash icon.

⚠️ Deleting a Fix Version will remove it from any associated bugs, so use with caution.
Using Fix Version in Bug Tracking
When creating or updating a bug, you can assign a Fix Version to indicate the version or release where the issue will be (or has been) resolved.
Example:
- Bug: “Login page throws 500 error”
- Fix Version: v2.3.1
- Status: Resolved
This helps QA testers verify the bug in the specific build or deployment.
🔍 QA teams can filter bugs by Fix Version to focus on regression and validation testing.
Why Fix Version Matters
| Benefit |
Description |
| Release Tracking |
Know which issues were fixed in each version or patch. |
| Quality Assurance |
Test teams can validate fixes before release. |
| Change Log Management |
Automatically generate fixed summaries for release notes. |
| Historical Audit |
Keep a clear history of what was fixed, when, and in which version. |
Best Practices
✅ Align Fix Versions with your release cycle — e.g., Sprint numbers, product versions, or deployment dates.
✅ Use descriptive version names — to easily match versions with builds or repositories.
✅ Update regularly — close out old versions and archive completed ones to maintain clarity.
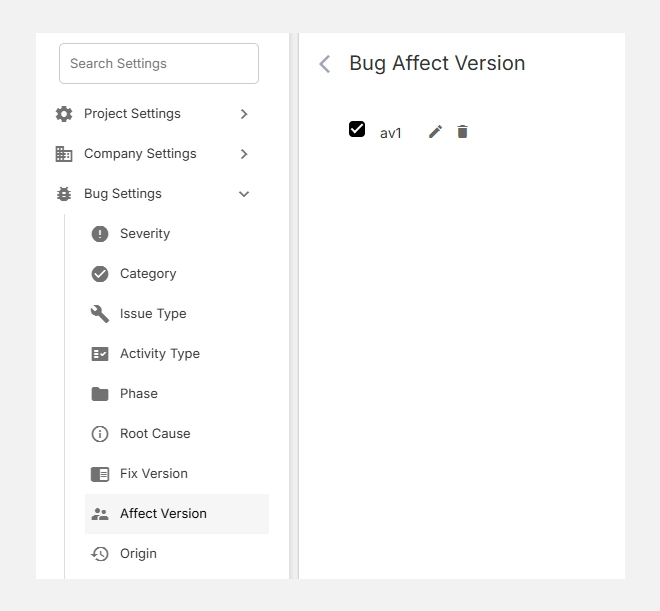
✅ Combine with Affect Version — to see where the issue appeared vs. where it was fixed.
Example Use Case
| Bug ID |
Summary |
Affect Version |
Fix Version |
Status |
| #1021 |
Login error on mobile |
v2.2 |
v2.3 |
Resolved |
| #1035 |
Slow loading dashboard |
v2.3 |
v2.4 |
Fixed |
| #1040 |
Email notifications not triggering |
v2.1 |
v2.3 |
Closed |
🧾 This table gives teams a full audit trail across defects, fixes, and releases.
💡 Related Bug Settings
| Setting |
Description |
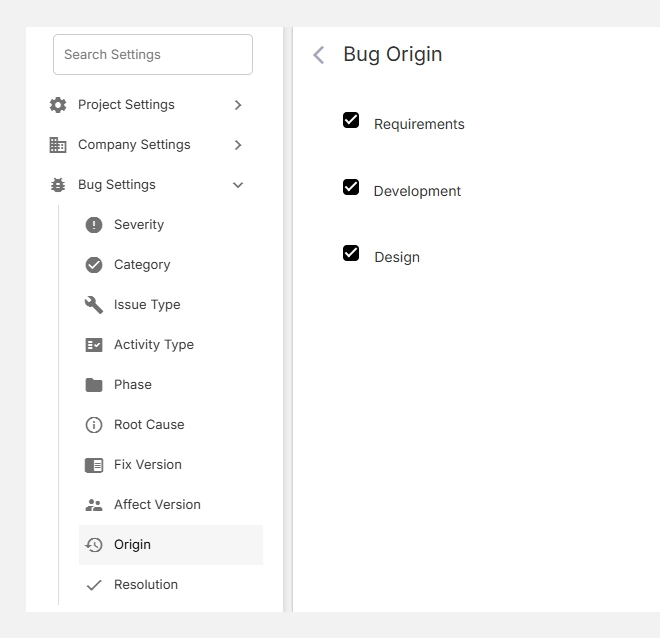
| Affect Version |
Indicates which version the issue was found in. |
| Root Cause |
Defines the underlying reason behind the issue. |
| Severity |
Measures the impact level of the bug. |
| Phase |
Shows the stage where the bug was identified or fixed. |