Bug Origin in Orangescrum Cloud helps teams trace where in the project lifecycle a defect was introduced — such as during Requirements, Design, or Development.
By recording the origin of bugs, project managers and QA teams can analyze process gaps, improve quality controls, and reduce recurrence in future cycles.
Example: If a defect is traced back to the Requirements phase, it means the issue originated from unclear specifications rather than poor coding.
Why Use Bug Origin
- Improve root cause analysis: Identify the source of recurring defects.
- Enhance team accountability: Pinpoint which stage needs better QA checks.
- Improve quality metrics: Track bug density by lifecycle phase.
- Strengthen prevention strategies: Focus on process improvements early in the cycle.
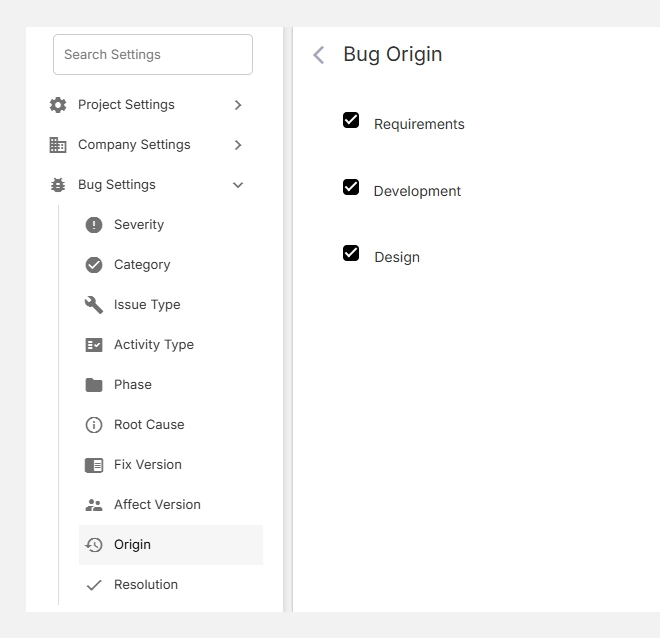
Accessing Bug Origin Settings
- Go to Settings → Bug Settings → Origin.
- You’ll see default origins like Requirements, Design, and Development.
- Add or edit these to match your internal project lifecycle.
How It Works
Each bug logged in Orangescrum can be tagged with its Origin.
This makes it easy to track not just when an issue occurred but where it started.
| Field | Description | Example |
| Bug Origin | The phase where the defect was introduced. | Requirements, Design, Development |
| Usage | Selected during bug reporting or analysis. | Helps QA trace the source of errors |
Tip: Combine “Origin” with “Root Cause” and “Phase” fields to conduct deeper defect trend analysis.
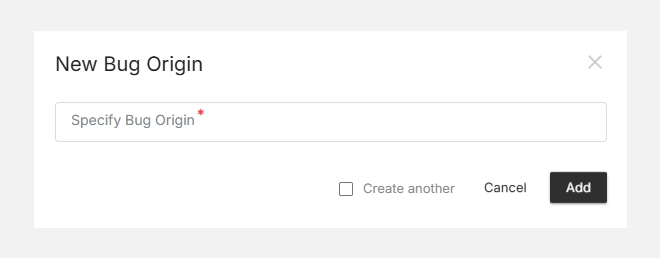
Adding a New Bug Origin
- Click + New Bug Origin (top-right).
- Enter the Origin Name — e.g., Testing, Deployment, Documentation.
- Click Add to save.
- The new origin will now appear in your selection list when creating or updating bugs.
Editing or Deleting Origins
- Click Edit to rename an existing origin.
- Click Delete to remove outdated or unused origins.
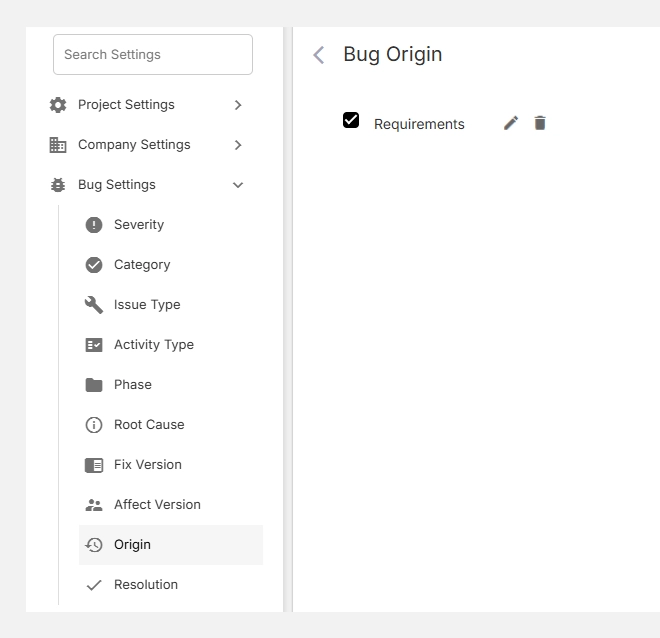
Note: Removing a Bug Origin unlinks it from existing bugs but doesn’t delete those issues.