Break down work. Assign ownership. Track progress. Deliver faster.
Tasks are the foundation of every project in Orangescrum Cloud.
They represent the actionable steps your team needs to complete in order to reach project goals.
The Task Management module helps teams:
- Create and assign tasks effortlessly
- Track real-time progress
- Manage priorities and dependencies
- Collaborate and share updates in one centralized workspace
Whether you manage agile sprints, client deliverables, or internal initiatives — Orangescrum gives you the clarity and control to execute with precision.
Every successful project starts with well-organized tasks.
Key Capabilities
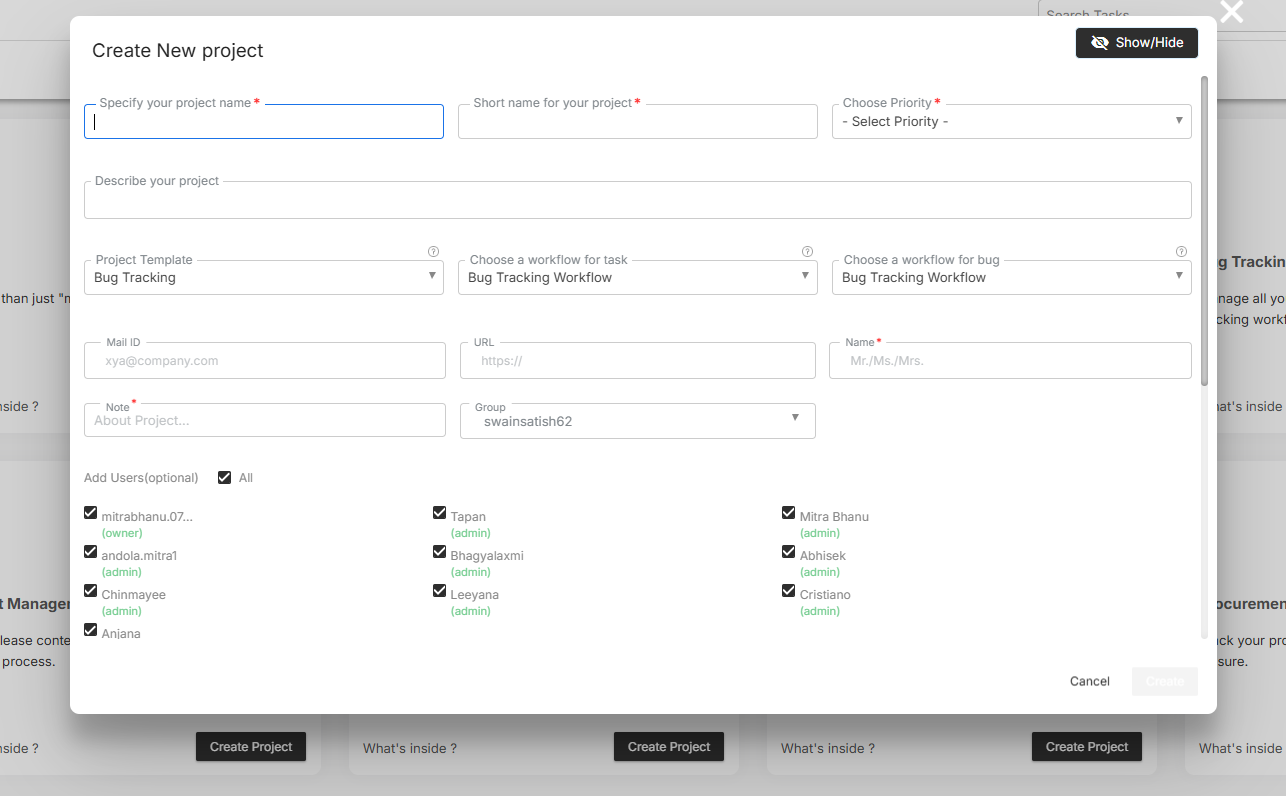
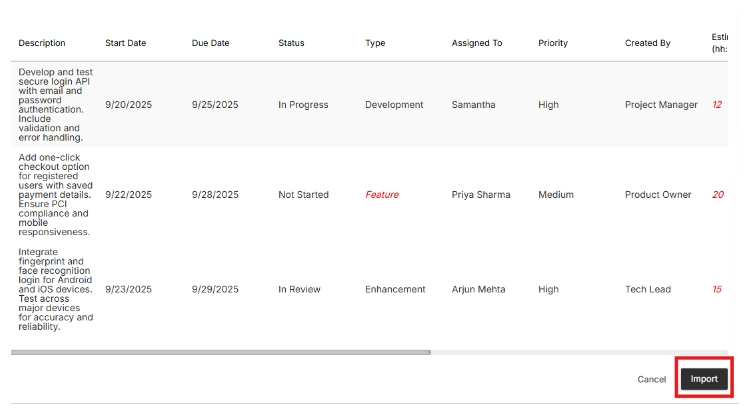
- Create and Assign Tasks: Add new tasks quickly, assign them to responsible members, and include start and due dates.
- Define Priorities: Label tasks as High, Medium, or Low to ensure critical work gets attention first.
- Set Dependencies: Link related tasks so that one cannot start until another is completed — ideal for sequential workflows.
- Track Progress in Real-Time: Monitor task status with color-coded indicators such as New, In Progress, On Hold, or Completed.
- Collaborate with Context: Add comments, @mentions, attachments, and checklists to keep everyone aligned and informed.
- Visualize Work: Switch between List, Kanban, Calendar, or Gantt views to see your work the way that fits best.
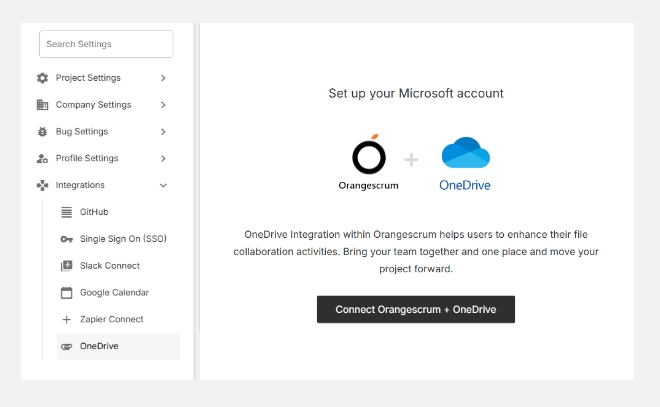
- Automate and Integrate: Use workflow automation and integrations (like Slack, Zapier, or OneDrive) to simplify task updates and notifications.
How to Create a Task
- Go to Projects → Select a Project.
- Click + Add Task or use the quick-add option on the top bar.
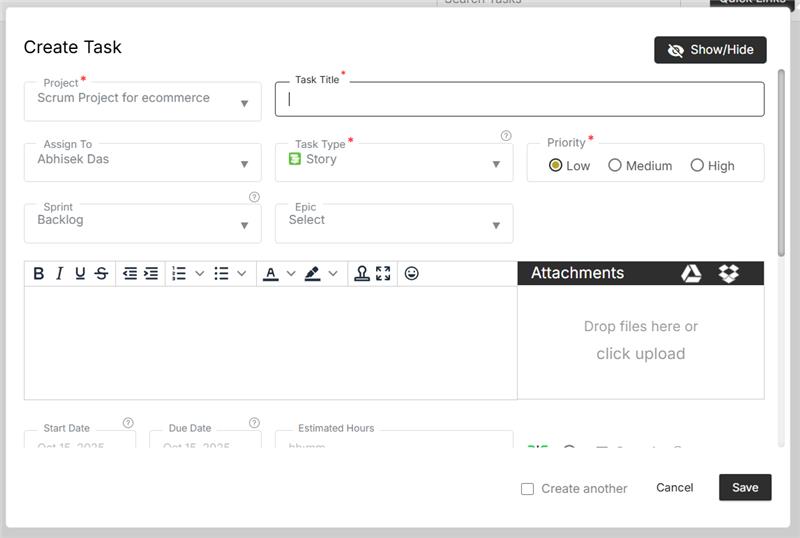
- Fill in task details:
- Task Title (required)
- Description / Notes (optional)
- Assignee (who will do the task)
- Start & Due Dates
- Priority (High / Medium / Low)
- Task Type (Bug, Enhancement, Task, etc.)
- Status (New, In Progress, Completed)
- Attach files or link resources (e.g., OneDrive or GitHub).
- Click Save — your task is added to the selected project.
Pro Tip: Use the “Add Another Task” toggle to quickly add multiple tasks in succession.
Task Views in Orangescrum
You can visualize and manage tasks through multiple, flexible views:
| View Type | Description |
| List View | Displays all tasks in a simple, sortable table with details like assignee, due date, and status. |
| Kanban View | Visual board with drag-and-drop cards, ideal for agile or sprint-based workflows. |
| Calendar View | Displays tasks by due dates — great for deadline-driven teams. |
| Gantt Chart View | Timeline visualization to see dependencies, progress, and task durations. |
| Task Group View | Organize tasks under logical groupings or milestones. |
Switch between views anytime from the top-right of your project workspace.
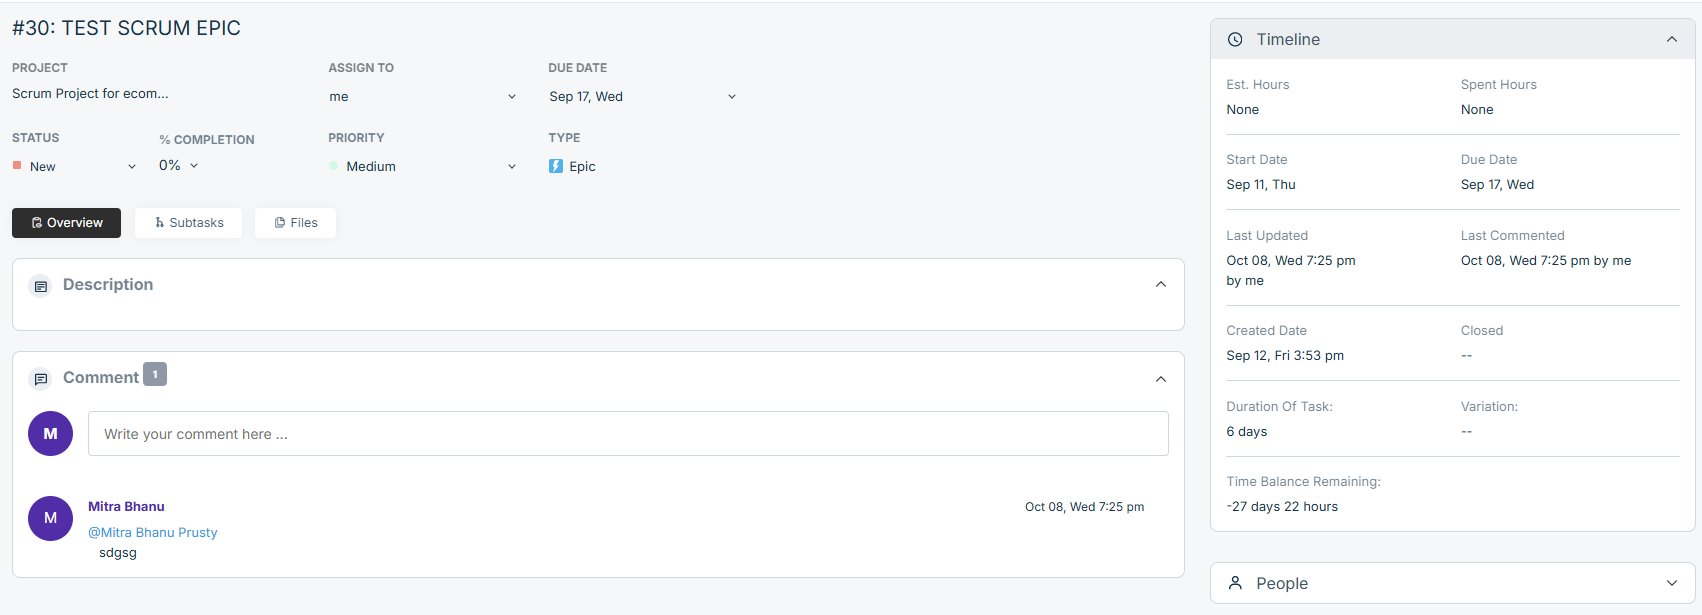
Understanding Task Fields
| Field | Purpose |
| Task Title | The name of the work item. |
| Project | Indicates which project the task belongs to. |
| Assignee | The person responsible for completing the task. |
| Start & Due Dates | Helps define the task duration and scheduling. |
| Priority | Flags urgency for team visibility. |
| Status | Tracks current progress stage (New → In Progress → Completed). |
| Task Type | Categorizes the work (e.g., Feature, Bug, Improvement). |
| Description | Details, notes, or context related to the task. |
| Attachments | Files, screenshots, or supporting documents. |
| Comments | Discussion space for updates and clarifications. |
Managing and Tracking Tasks
- Update task status as work progresses.
- Use filters to view tasks by priority, due date, or assignee.
- Apply bulk actions to update multiple tasks simultaneously.
- Add time logs for effort tracking.
- Review task progress through Project Dashboards and Reports.
Every change made is tracked under the task’s activity log for complete transparency.
Task Collaboration
Collaboration in Orangescrum happens where work happens — inside each task.
You can:
- @mention teammates to draw attention to a comment or update.
- Attach documents, screenshots, or spreadsheets.
- Convert comments into subtasks if needed.
- Receive real-time notifications for updates, mentions, or due date reminders.
The comment thread keeps the full conversation around a task visible to everyone involved.
Subtasks & Checklists
Break large tasks into smaller actionable steps:
- Use Subtasks for multi-stage deliverables.
- Use Checklists for simple, itemized steps.
- Mark items complete as progress is made — your completion percentage updates automatically.
Subtasks improve accountability and make tracking more granular.
Task Dependencies
Some tasks can’t start until others are finished — and Orangescrum helps manage that easily.
- Open the task.
- Go to the Dependencies section.
- Choose the “Predecessor” task (one that must finish first).
- Save changes.
Now, team members will see dependency warnings and accurate scheduling on Gantt charts.
Dependencies ensure proper sequencing and prevent scheduling conflicts.
Task Filters and Sorting
Use advanced filters to find what matters most:
- Filter by Status, Priority, Assignee, Start Date, End Date, or Category.
- Sort columns in ascending or descending order for quick insights.
- Save filters as views for easy reuse.
For example, filter by “High Priority + Due This Week” to focus on urgent items.
Task Notifications
Stay informed through multiple channels:
- Email Notifications: Get alerts when tasks are created, updated, or assigned.
- In-App Notifications: See updates and mentions in real time.
- Slack Integration: Receive task updates directly in your team channels.
Notification preferences can be customized under “Profile Settings → Notifications.”
Time Tracking on Tasks
Accurately track how much time your team spends on each task.
- Log time manually or start a live timer.
- Categorize time as billable or non-billable.
- View total hours in the Timesheet section or reports.
Integrated time tracking helps with resource billing and performance evaluation.
Task Reports
Generate reports to monitor productivity and deadlines:
| Report Type | Description |
| Task Summary Report | Shows open, closed, and overdue tasks by project or user. |
| Task Status Report | Tracks how work is progressing across stages. |
| Overdue Task Report | Lists all delayed or pending tasks. |
| User Task Report | Displays each user’s workload and completion rate. |
Reports are downloadable in CSV or PDF formats for management reviews.
Troubleshooting
If tasks don’t appear or updates aren’t saving:
- Refresh your browser or clear cache.
- Verify that you have permission to view or edit tasks in the project.
- Check your internet connection and plan limits.
- If using integrations (Slack, Zapier), reauthorize the connection.
For technical help, contact Orangescrum Support through the Help Center.
Summary
| Feature | Description |
| Create Tasks | Define and assign actionable work items. |
| Multiple Views | Switch between List, Kanban, Calendar, or Gantt. |
| Task Collaboration | Share files, comments, and updates. |
| Dependencies & Checklists | Break work into sequences and steps. |
| Time Tracking & Reports | Measure performance and output. |
With Orangescrum’s Task Management, your team gets clarity, accountability, and control — from planning to delivery.