Bug Phase in Orangescrum Cloud allows you to define at which stage of the project a defect was identified — such as during Requirements Gathering, Design, Development, Testing, or Deployment.
This helps project managers and QA teams analyze the origin of issues, identify process bottlenecks, and improve quality control at every phase of the software development lifecycle (SDLC).
Example: If multiple issues are logged during the “Design” phase, it indicates the need for stronger design review or validation steps.
Why Define Bug Phases
- Pinpoint issue origins — know exactly when and where bugs are introduced.
- Improve process control — strengthen quality assurance at weak stages.
- Generate better analytics — understand trends and prevent future defects.
- Enhance collaboration — give visibility to both development and QA teams on recurring phase-level issues.
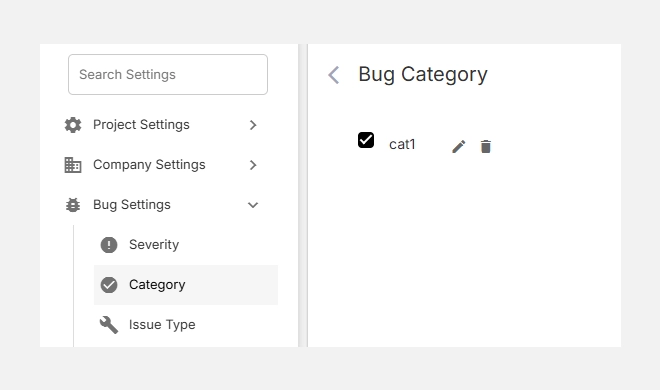
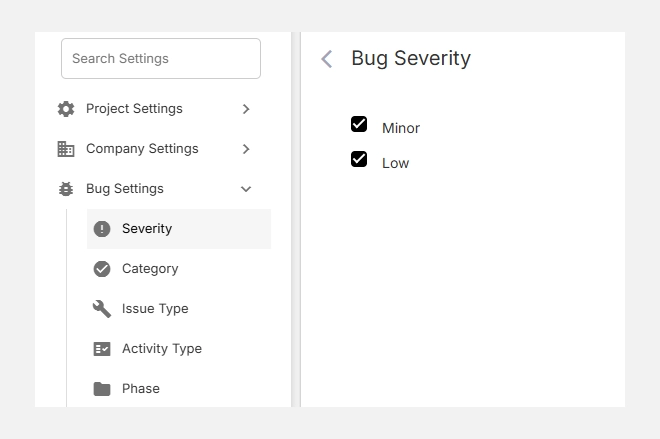
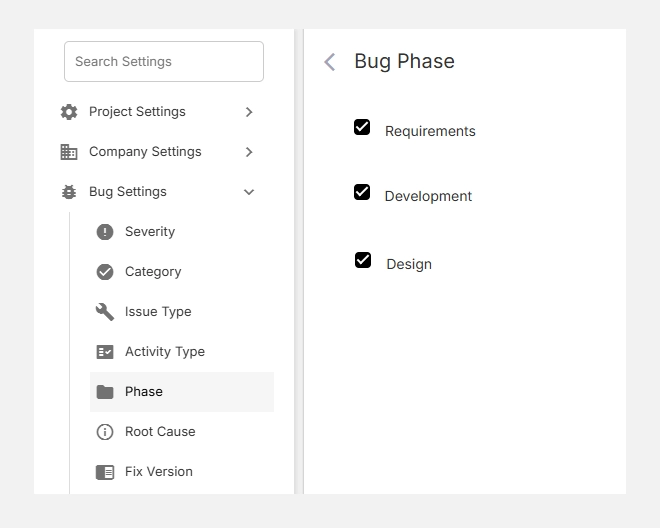
Accessing Bug Phase Settings
- Navigate to Settings → Bug Settings → Phase.
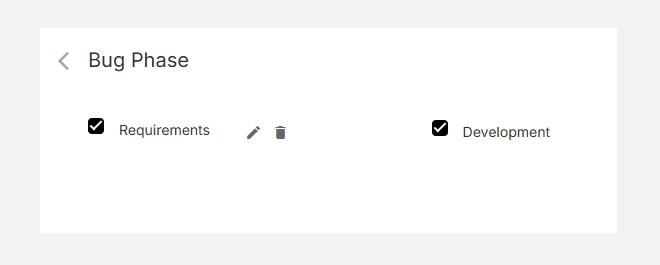
- You’ll see a list of existing default phases such as Requirements, Design, and Development.
- You can add, edit, or remove phases based on your workflow or development process.
Default Bug Phases
| Phase | Description | Example |
| Requirements | Bugs introduced due to unclear or incomplete requirements. | Missing acceptance criteria, ambiguous scope. |
| Design | Defects identified in UI/UX or architectural design. | Incorrect layout, poor navigation flow. |
| Development | Code-related bugs found during implementation or testing. | Logic errors, broken API calls, data mismatch. |
| Testing (custom) | Issues detected during QA or user acceptance testing. | Validation errors, regression bugs. |
| Deployment (custom) | Problems occurring after release or deployment. | Configuration errors, environment issues. |
Note: You can customize these phases to match your specific SDLC or Agile workflow.
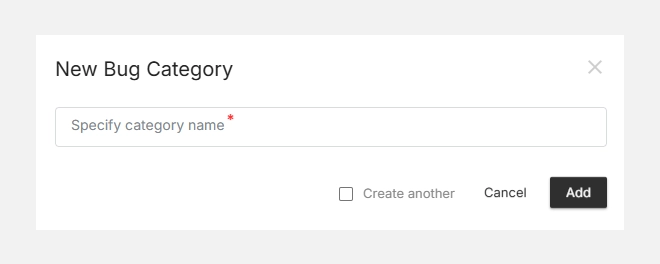
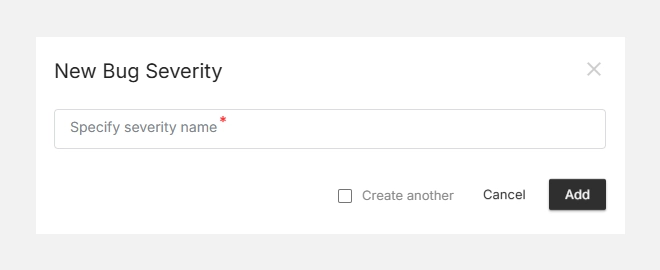
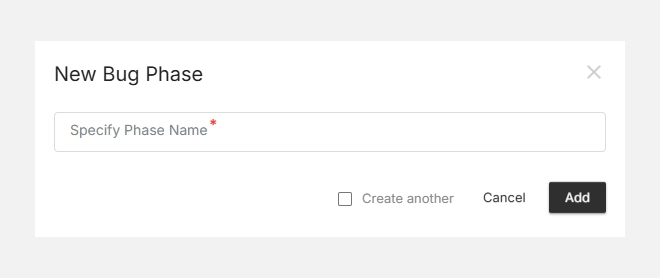
Adding a New Bug Phase
- Click + New Bug Phase (top-right corner).
- Enter a clear and descriptive Phase Name (e.g., Testing, UAT, Production).
- Click Add to save it.
- The new phase will appear in your list and be available during bug reporting.
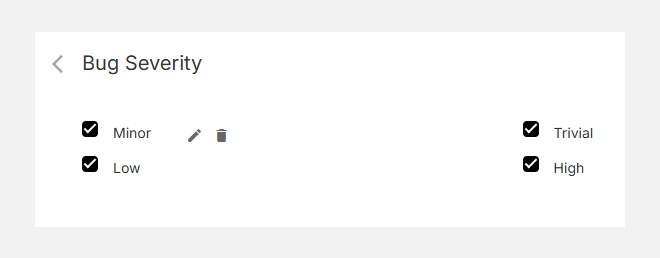
Editing or Deleting Phases
- To Edit, click the icon beside a phase name and update the text.
- To Delete, click the icon to remove unused phases.
- Deleting a phase will unassign it from existing issues, but will not delete the issues themselves.
Tip: Always align your Bug Phases with your project’s actual delivery workflow — for example, Agile sprints or Waterfall milestones.