Bug Category in Orangescrum Cloud allows you to classify and organize defects based on specific modules, functionalities, or areas of your project.
By grouping bugs under meaningful categories—such as UI/UX, Database, Integration, or API Errors—you can streamline triage, assign the right team members, and analyze recurring issues more effectively.
Example: You can create separate categories like “Login Module,” “Payment Gateway,” or “Dashboard Reports” to quickly locate and manage defects in those sections.
Why Use Bug Categories
- Improve visibility: Quickly identify which area of the project the issue belongs to.
- Streamline assignment: Assign issues to the right functional or technical owner.
- Enhance reporting: Track recurring problems within a specific feature or module.
- Speed up resolution: Reduce back-and-forth communication by clearly defining ownership.
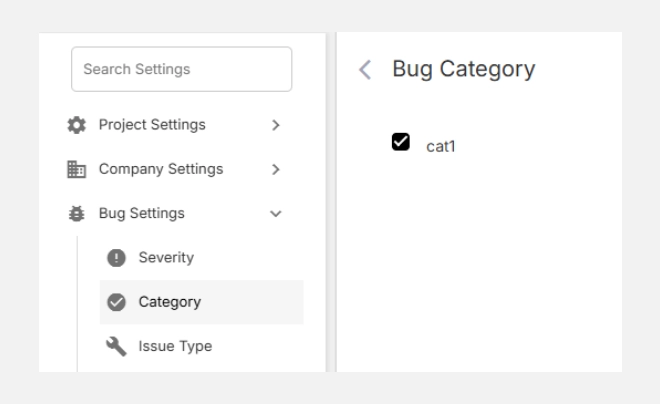
Accessing Bug Category Settings
- Navigate to Settings → Bug Settings → Category.
- You’ll see an empty list if no categories exist.
- From here, you can add new categories or manage existing ones.
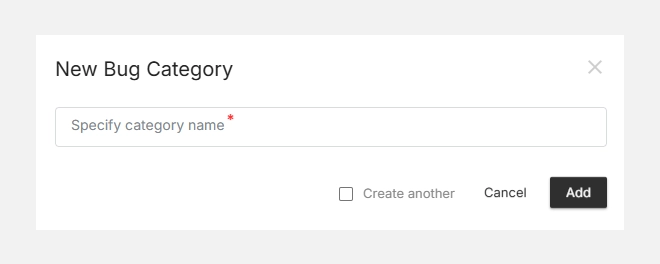
Creating a New Bug Category
To create a category:
- Click + New Bug Category (top right corner).
- Enter a Category Name in the pop-up window.
- Example: UI Design, Database Query, API Failure.
- (Optional) Check Create another if you want to add multiple categories continuously.
- Click Add to save your new category.
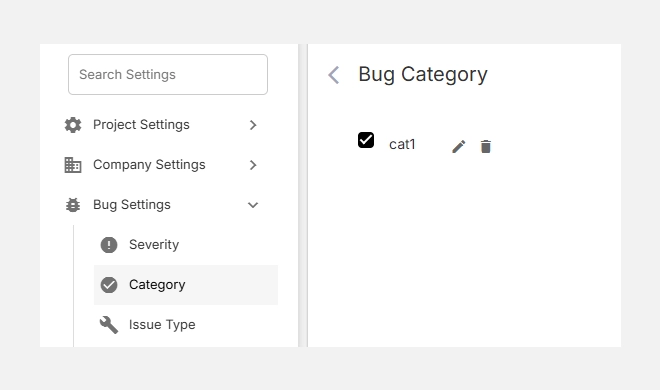
Your new bug category will now appear in the list and will be available for selection when logging new issues or editing existing ones.
Editing or Deleting a Category
- To Edit, hover over the category and click the icon to rename it.
- To Delete, click the icon to remove categories no longer in use.
- Any deleted category will be unlinked from existing bugs, but the bug records themselves will remain intact.
Tip: Keep your category names short and descriptive so team members can quickly identify where an issue belongs.